Ginger Jars
My favorite color is blue. When I go to antique stores, I am often drawn to the ginger jars and cobalt blue vases. I have even brought home a few. So, when I was casually looking at the Honey Bee Stamps products online and I saw the Ginger Jar stamps bundle I just had to have it!!!! Three weeks later this card design was born.
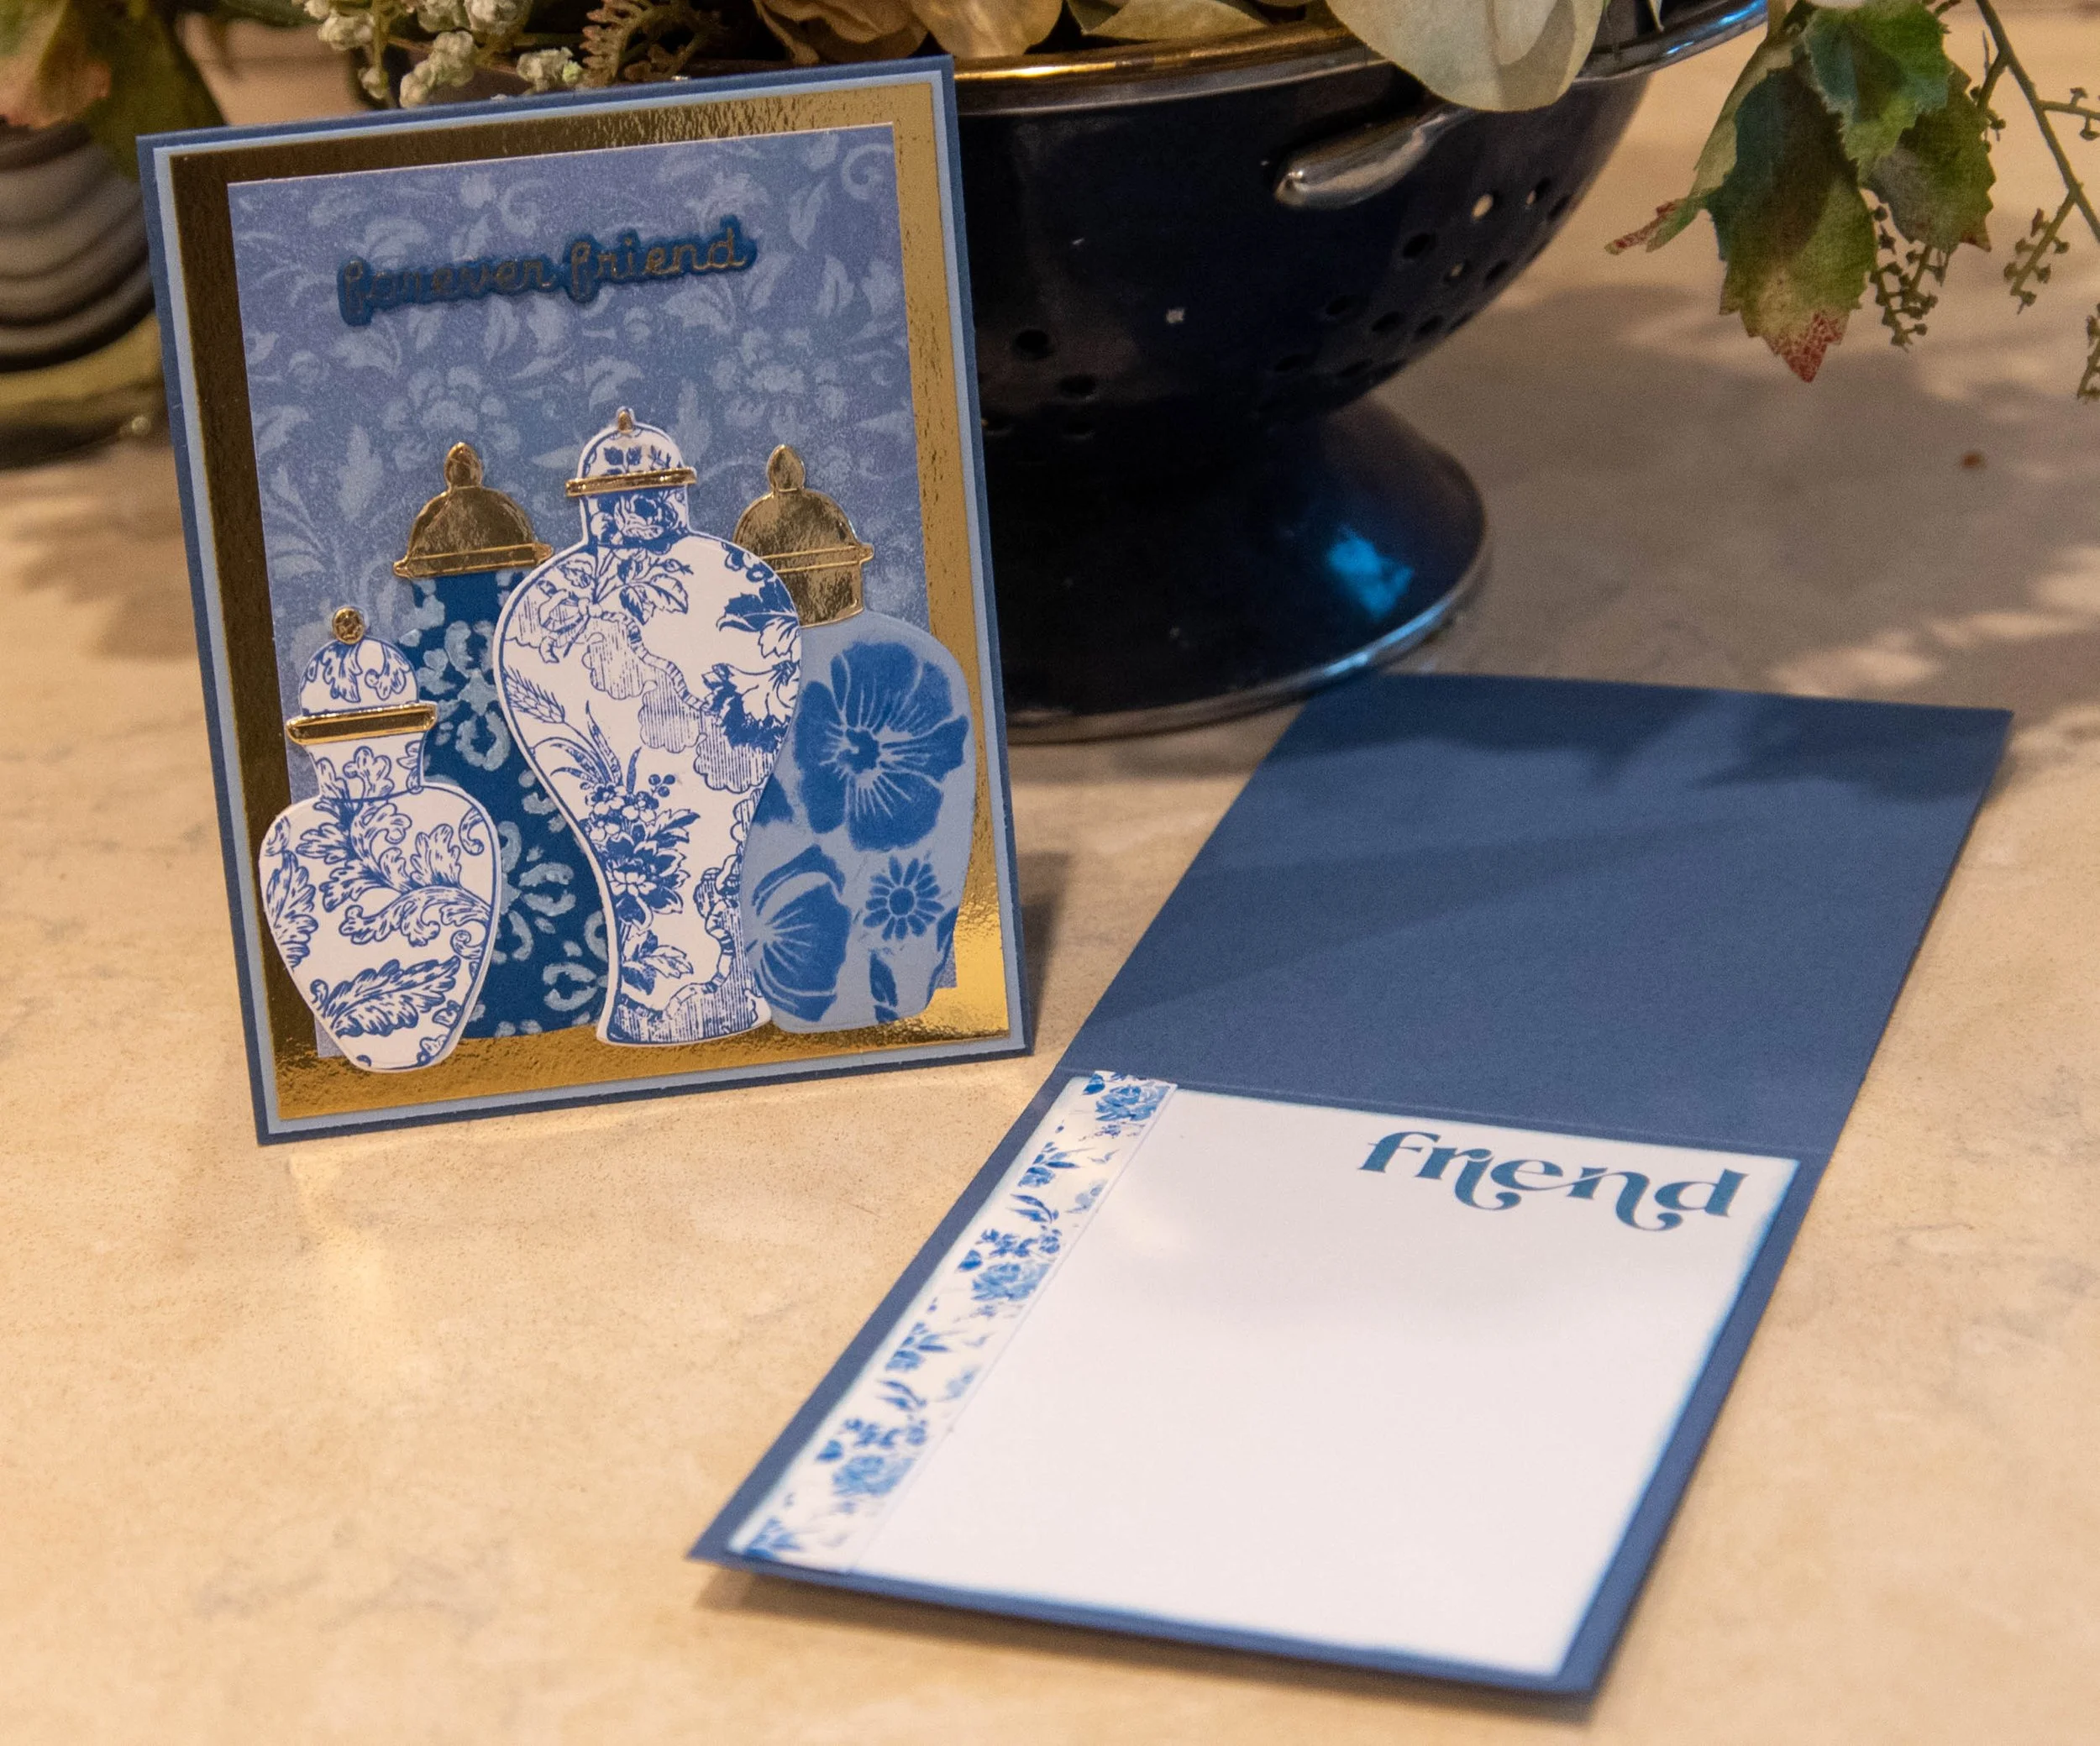
This card is a 5.5” by 4.25” card (A2). The products used on this card are listed at the end of the page.
Step by Step Instructions for making this Card.
Make the Card Base
1. Make the card base with the Misty Moonlight Card Stock for an A2 card. (See Card Basics). Score so the fold is at the top of the card.
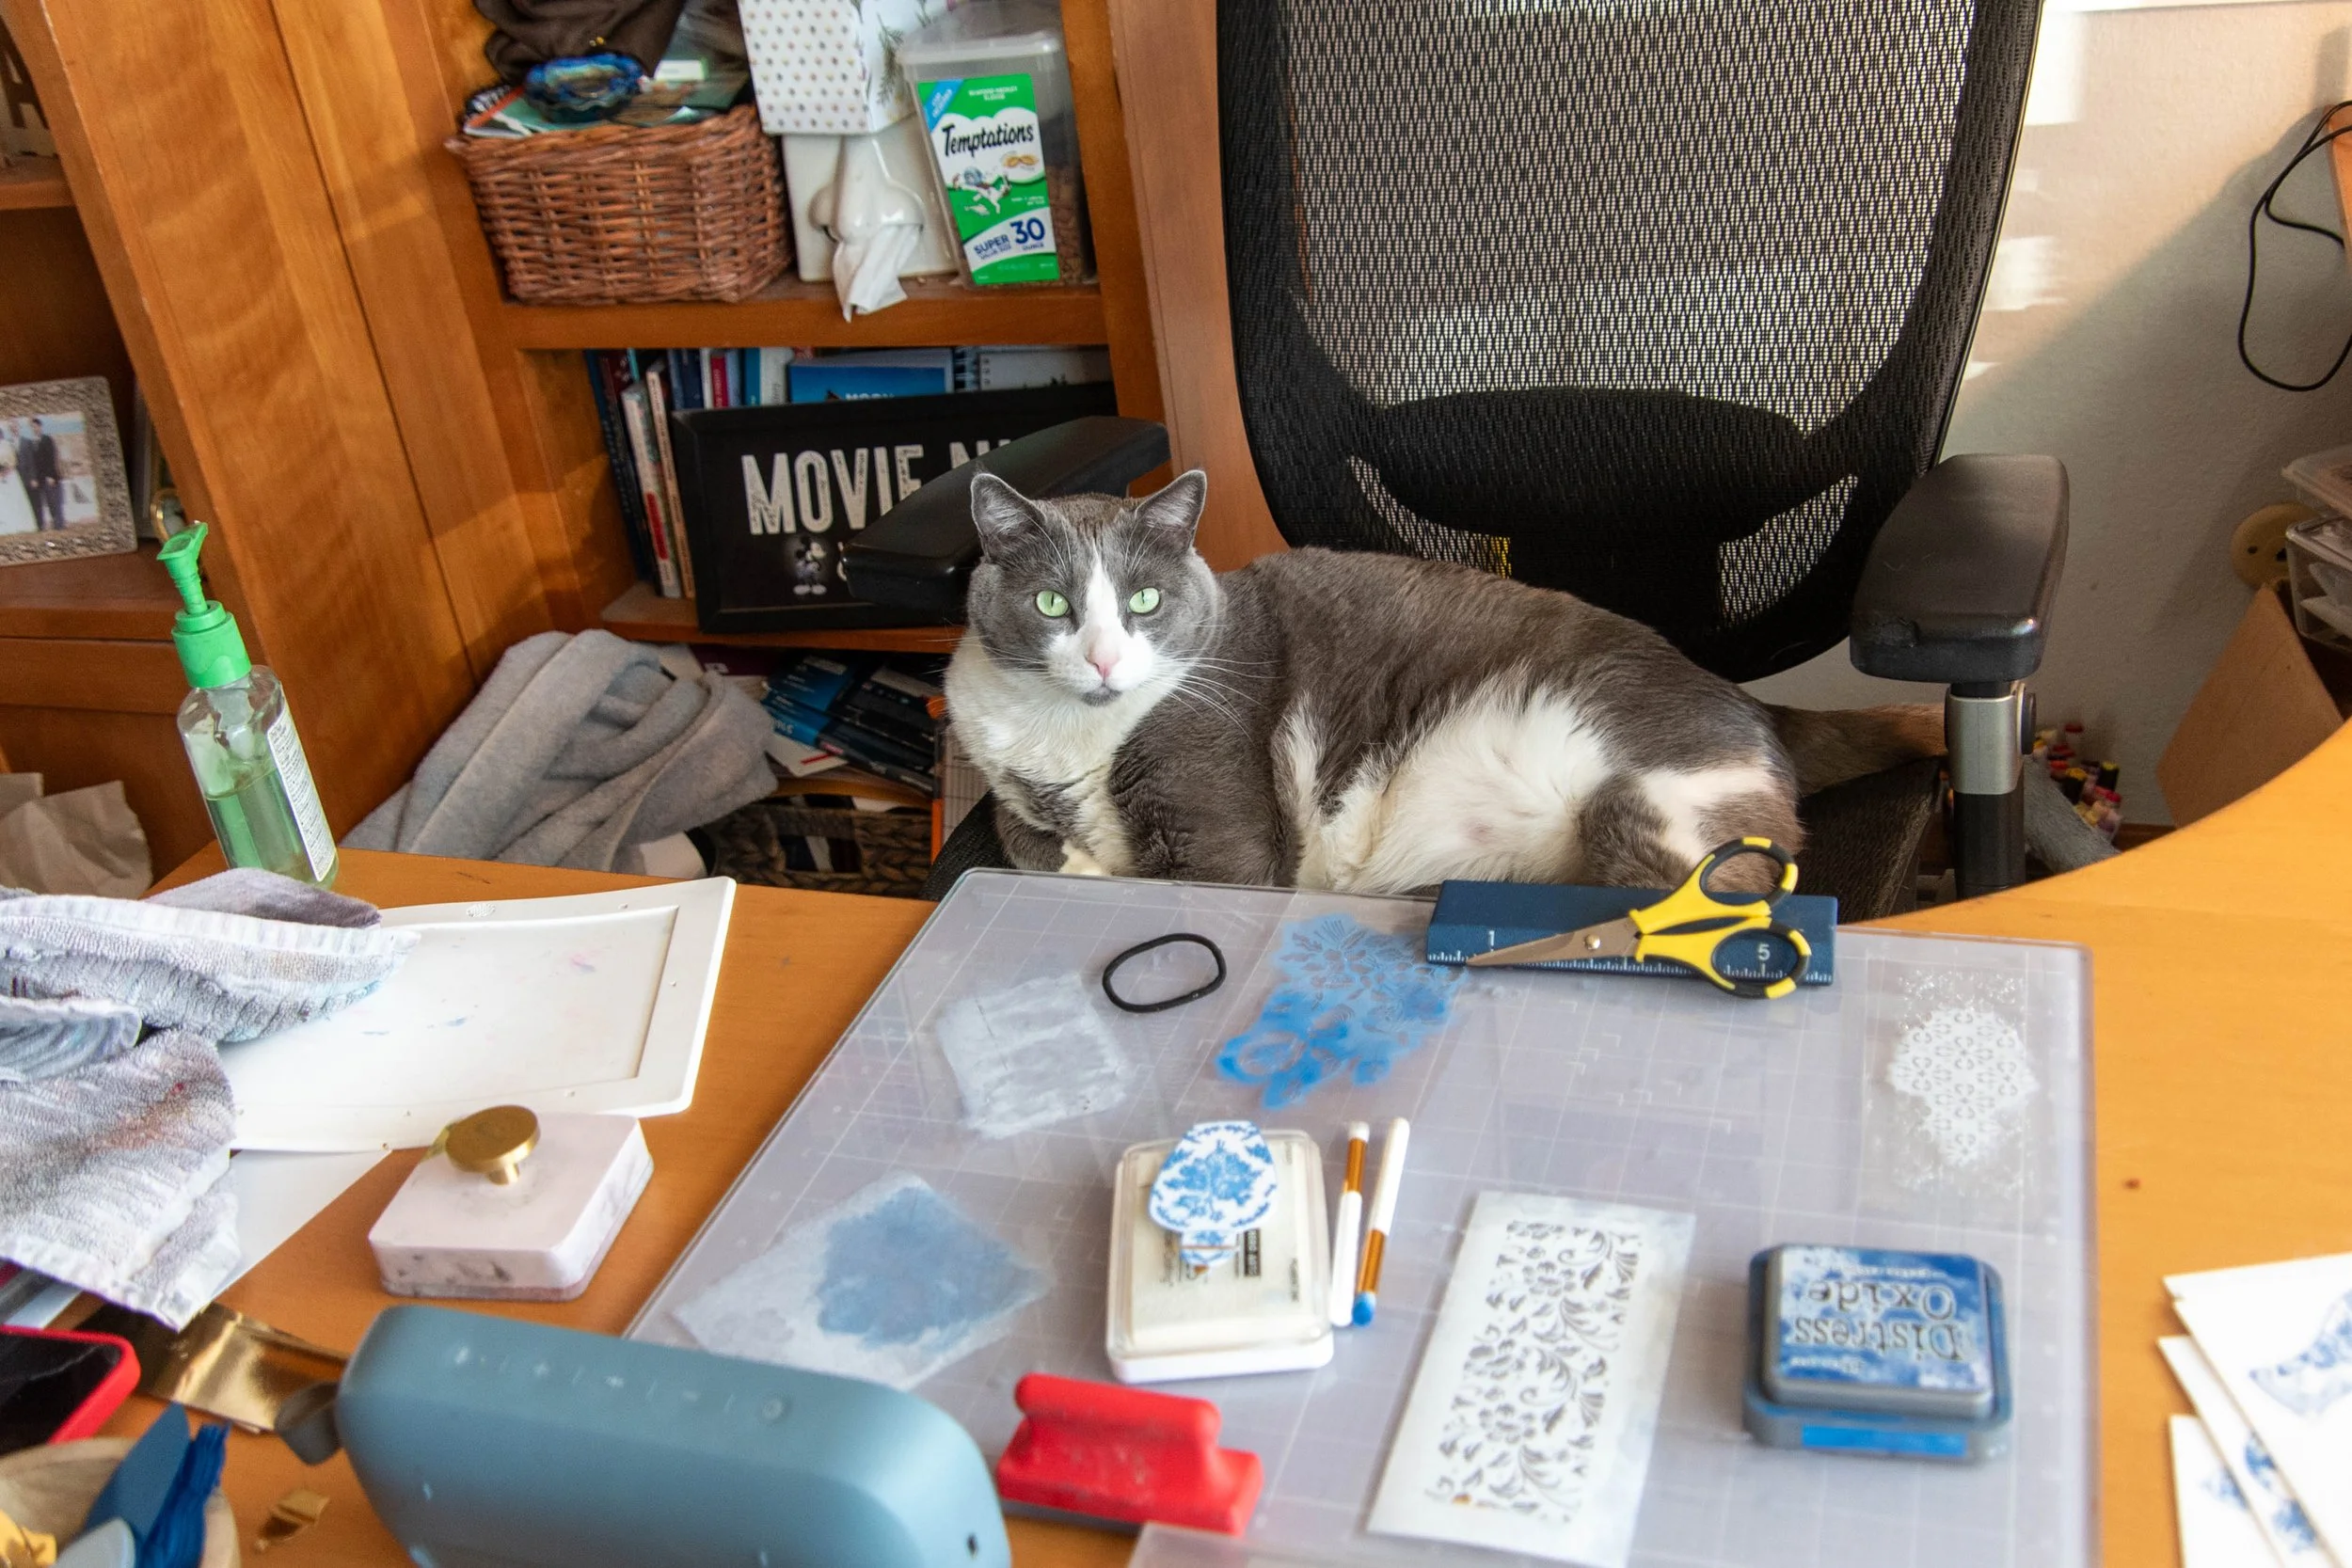
Smoke preparing for this design - Gotta stop and smell the flowers.
2. Cut the Seaside Spray card stock to a 4-1/8” x 5-3/8” rectangle – Large Matting panel
3. Cut the Gold Foil Card stock to 4” x 5-1/4” rectangle – Small Matting Panel
Set the matting panels aside to use later
4. Cut White Hammermill Cover Copy paper to a 3-3/4” X 5” rectangle. – Focal Background Panel
There are 3 panels that need to be cut for this card – Seaside Spray Blue matting panel, a gold matting panel, and the focal background panel.
Cut the Card Panels

Blend the Background
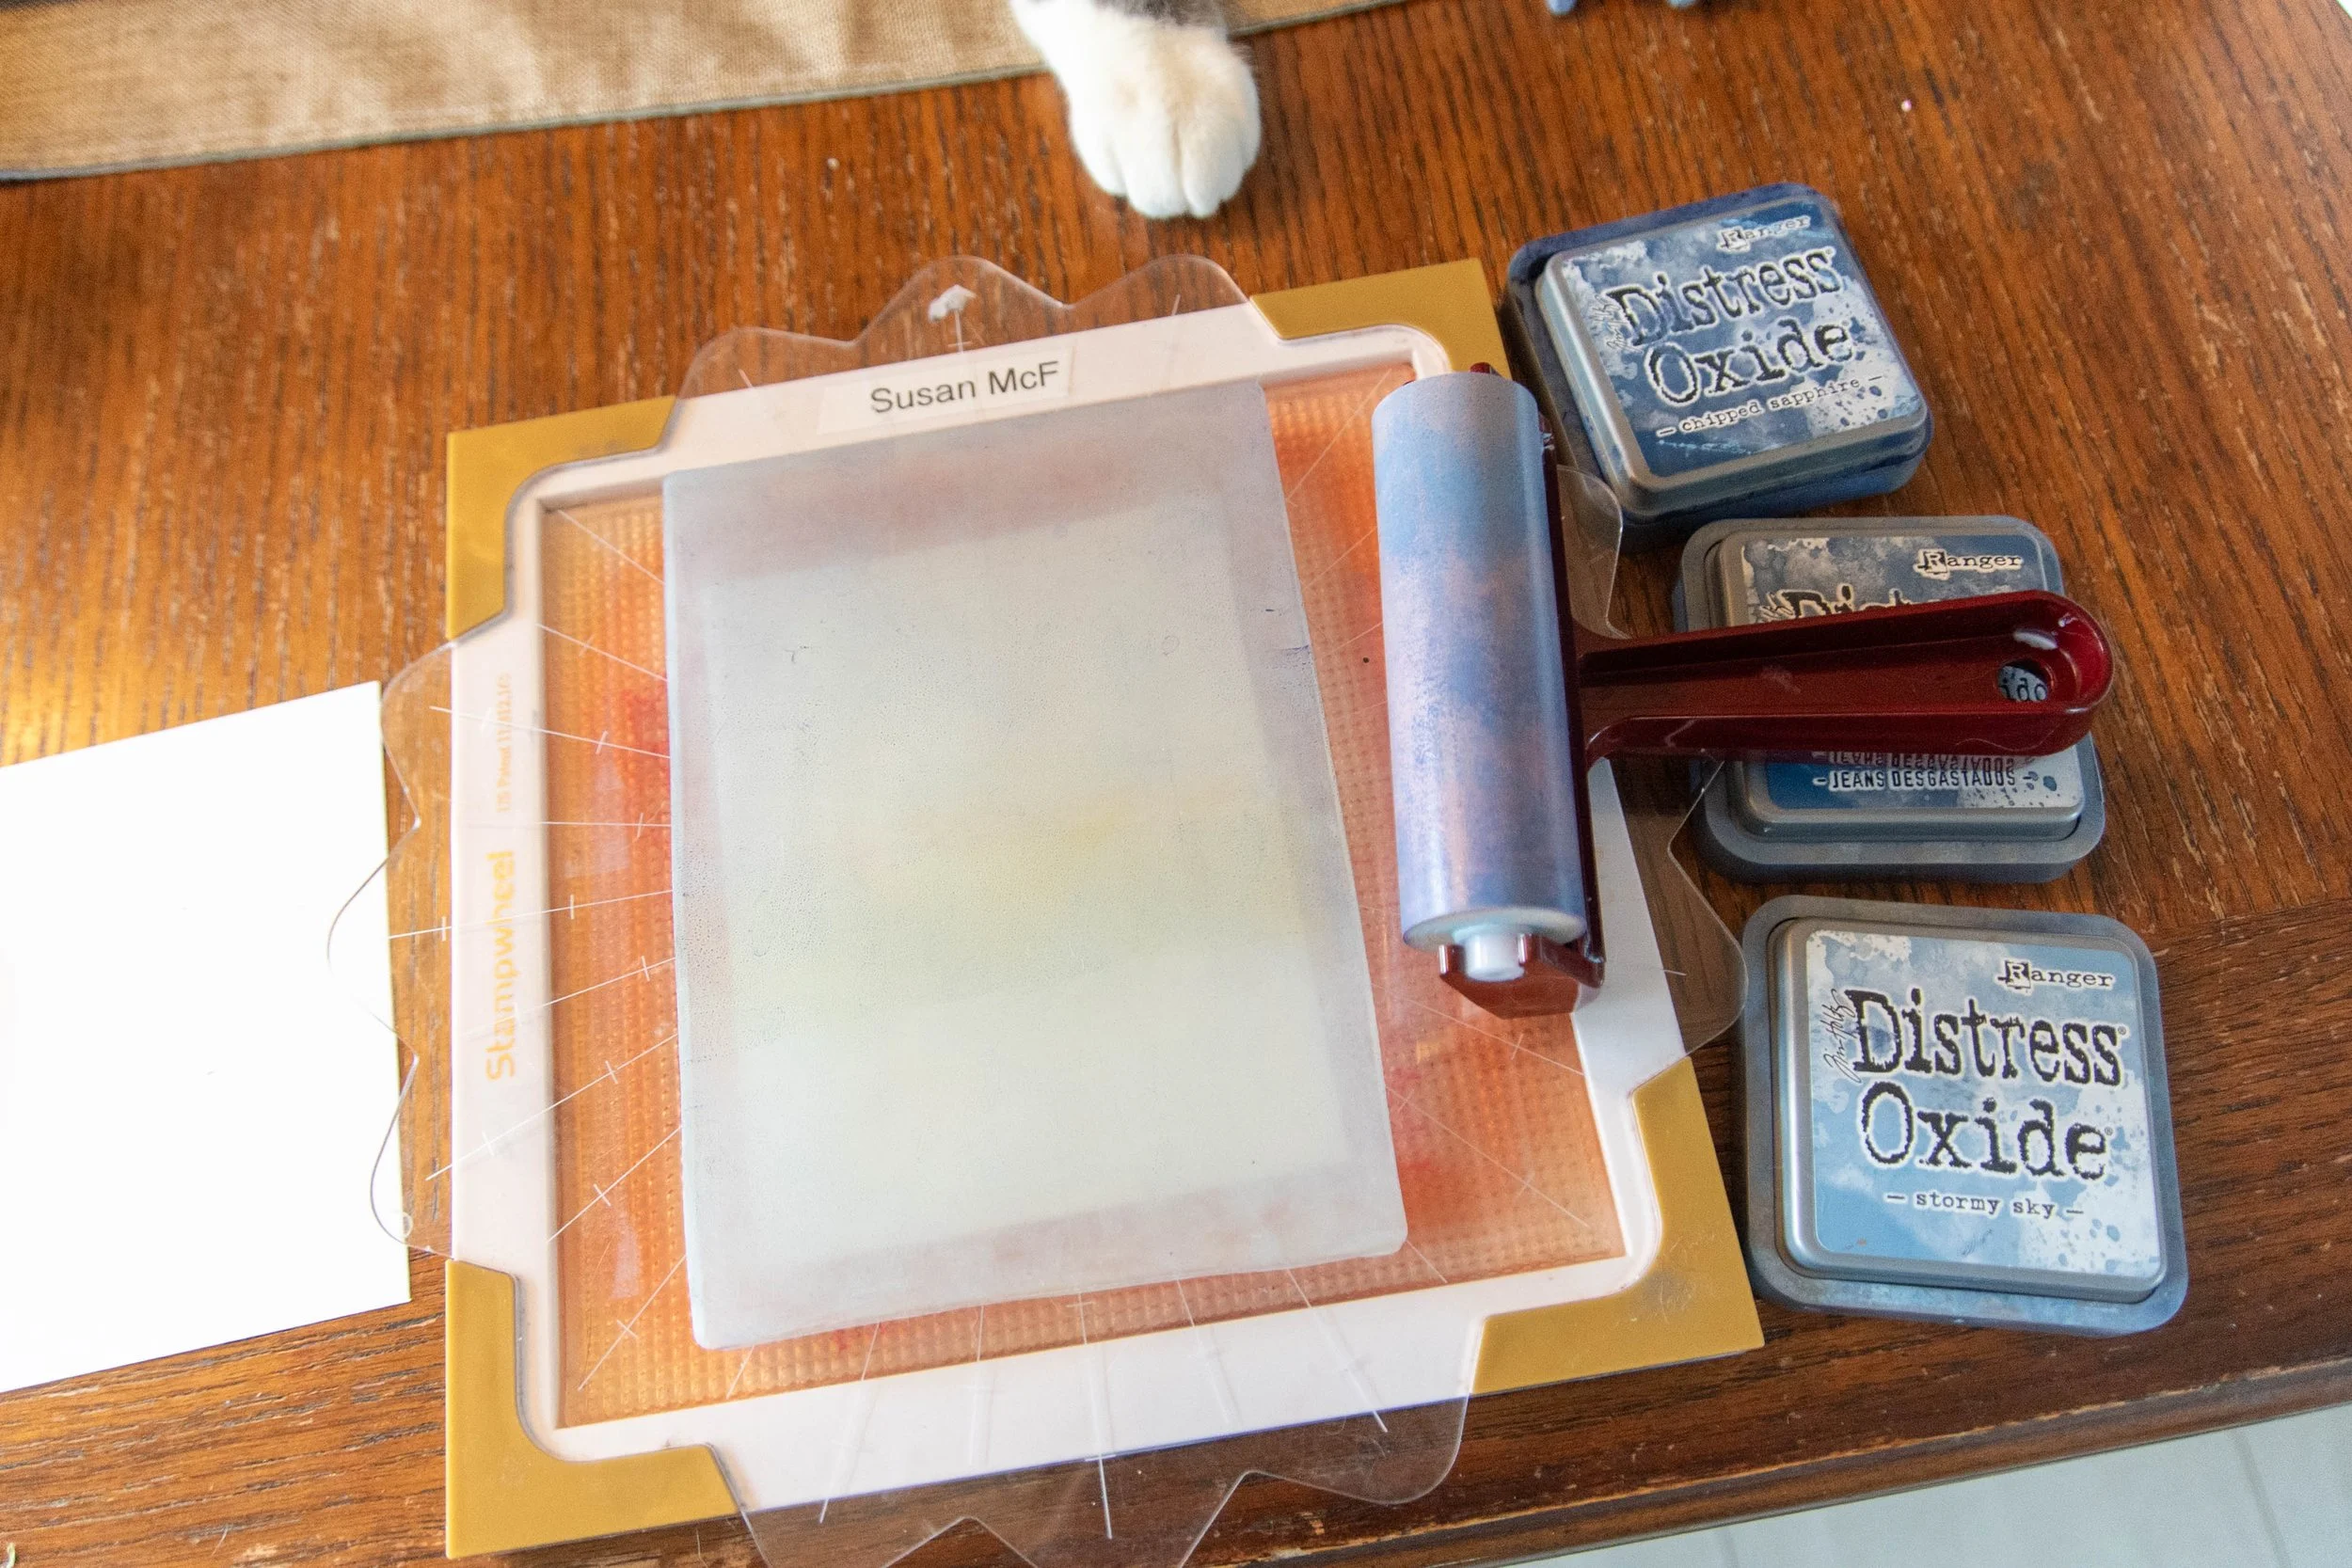
5. Adhere the gel press on glass or plastic plate. (I used the top of the alt-n-new stamp wheel)
6. Ink up the gel press in an ombre pattern starting from bottom to top with the inks: stormy sky, faded jean, and chipped sapphire. Use the brayer to blend – starting at the bottom then move to the top.
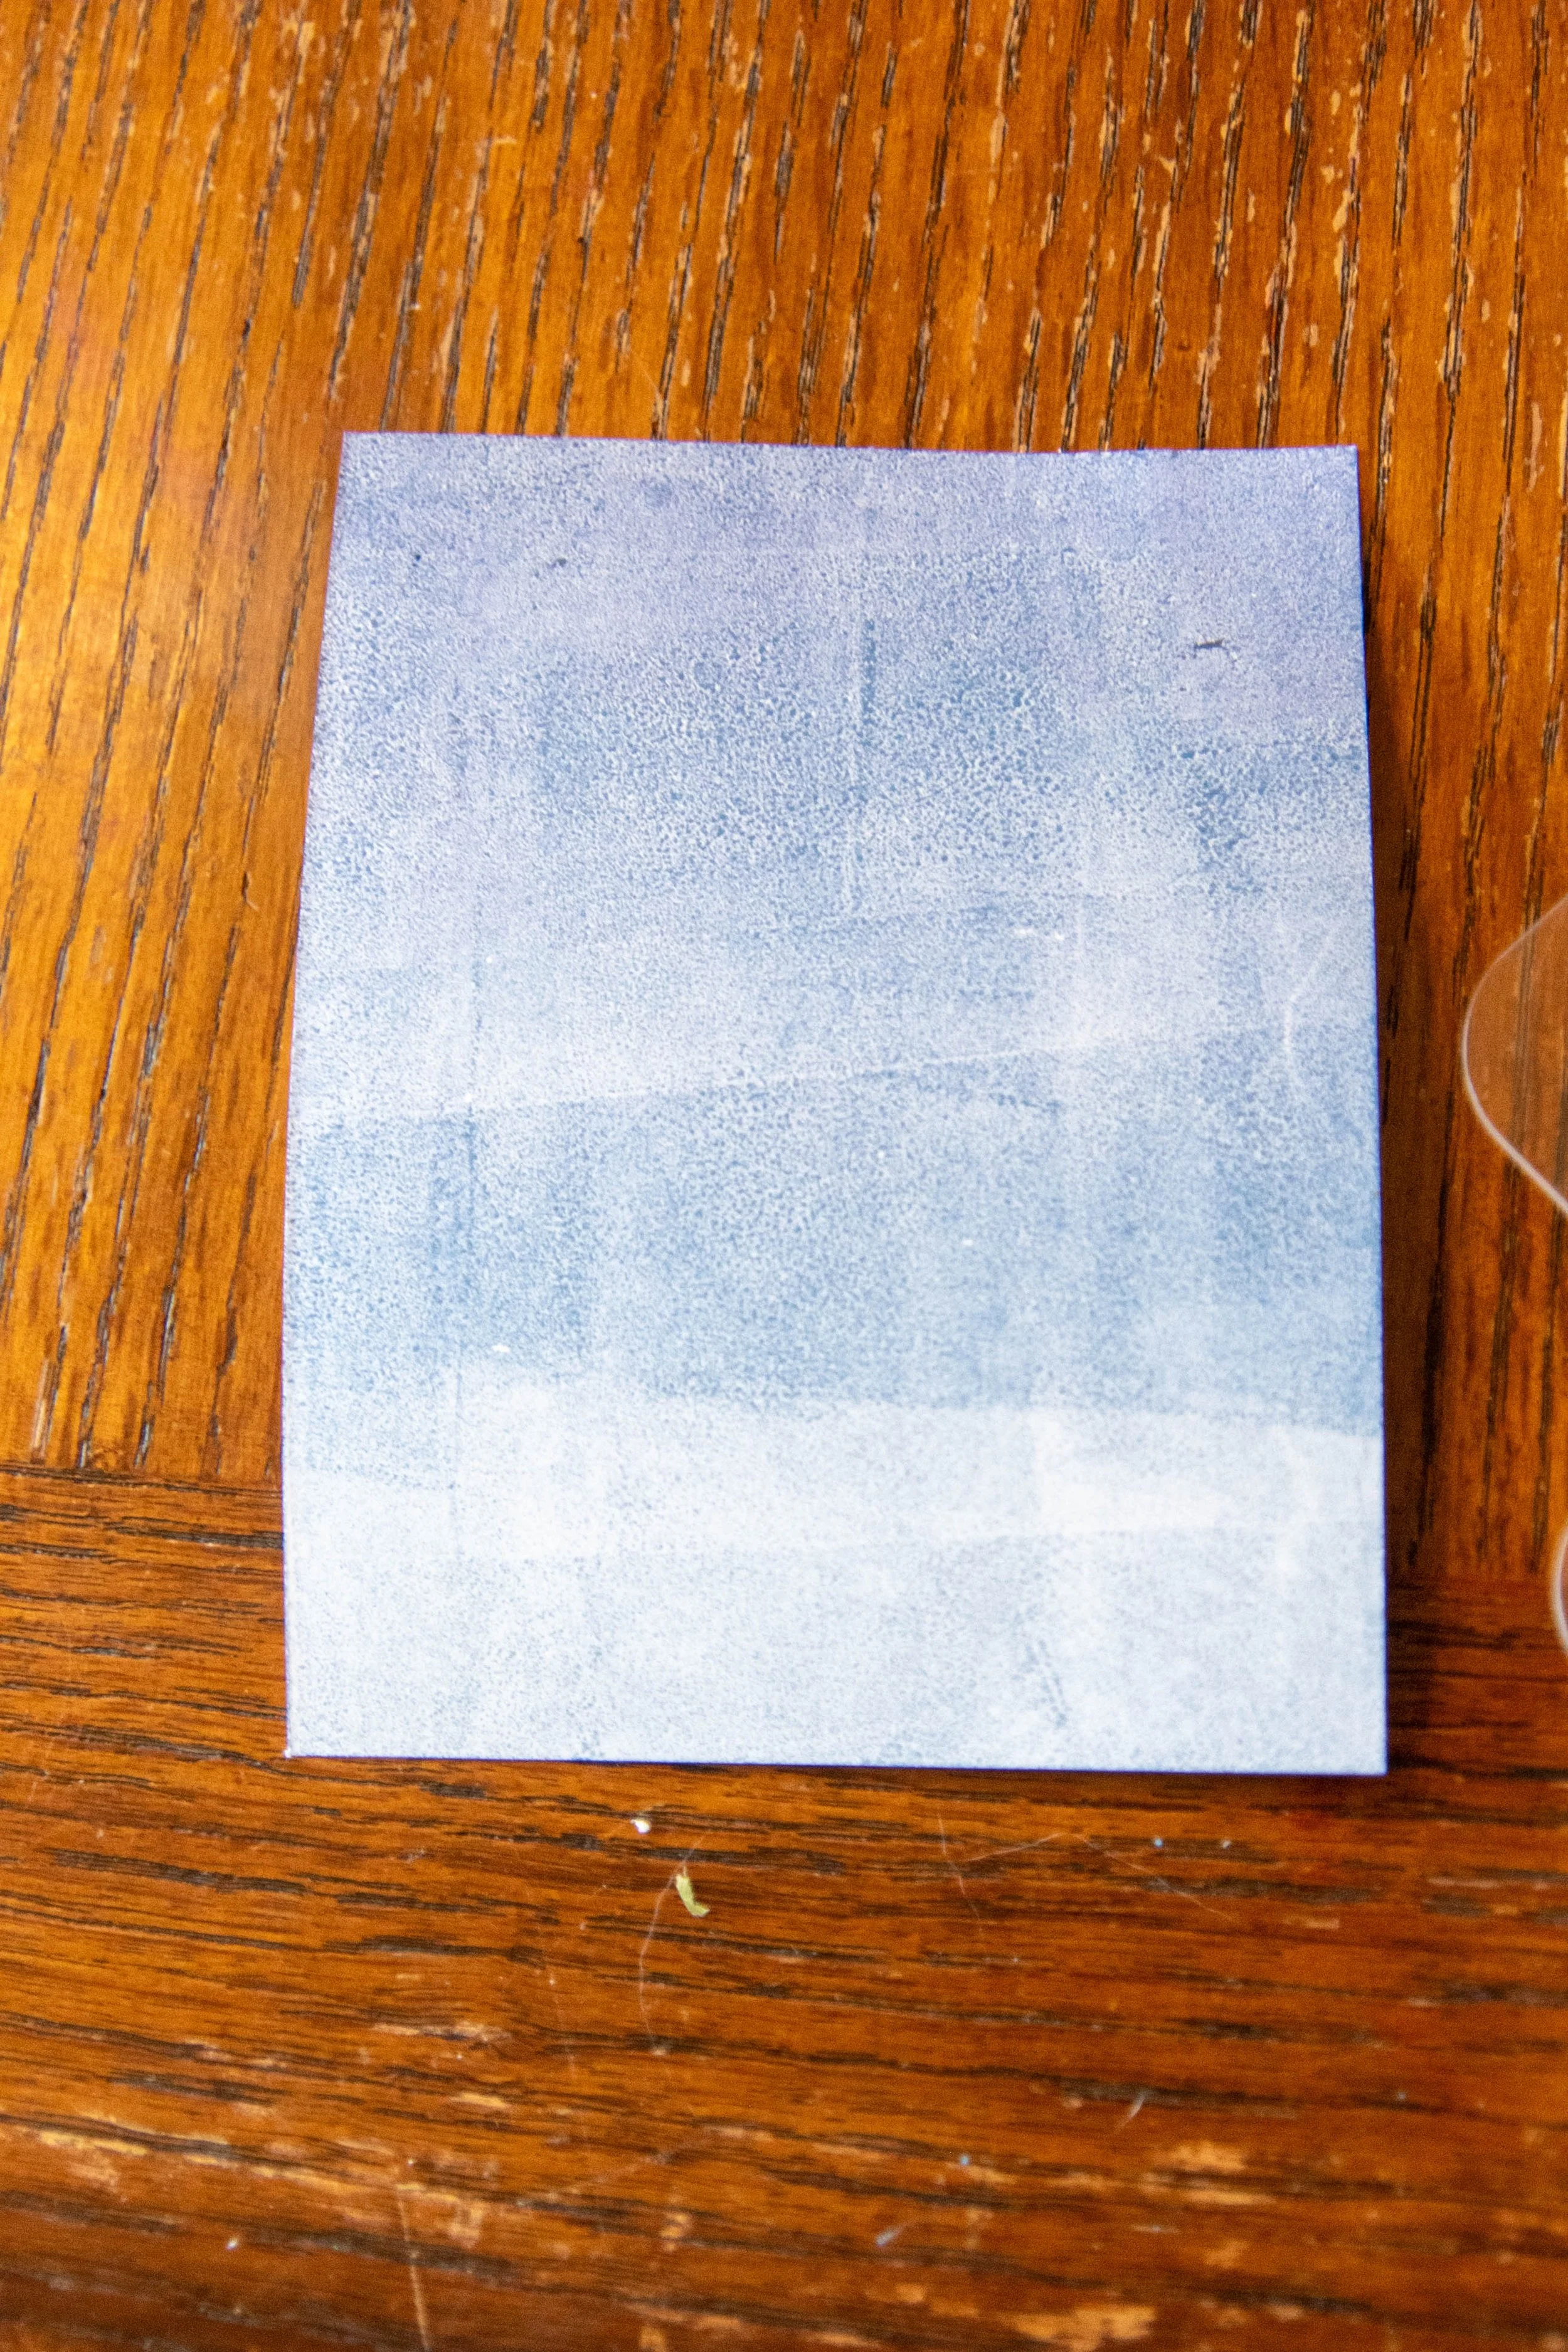
7. Put the focal panel onto the top of the gel press. Role the brayer over the back of the focal panel.
8. Pull off the panel. Repeat steps 5 to 7. (You ink the panel twice)
9. Pull off focal panel, (now blue), and let dry.
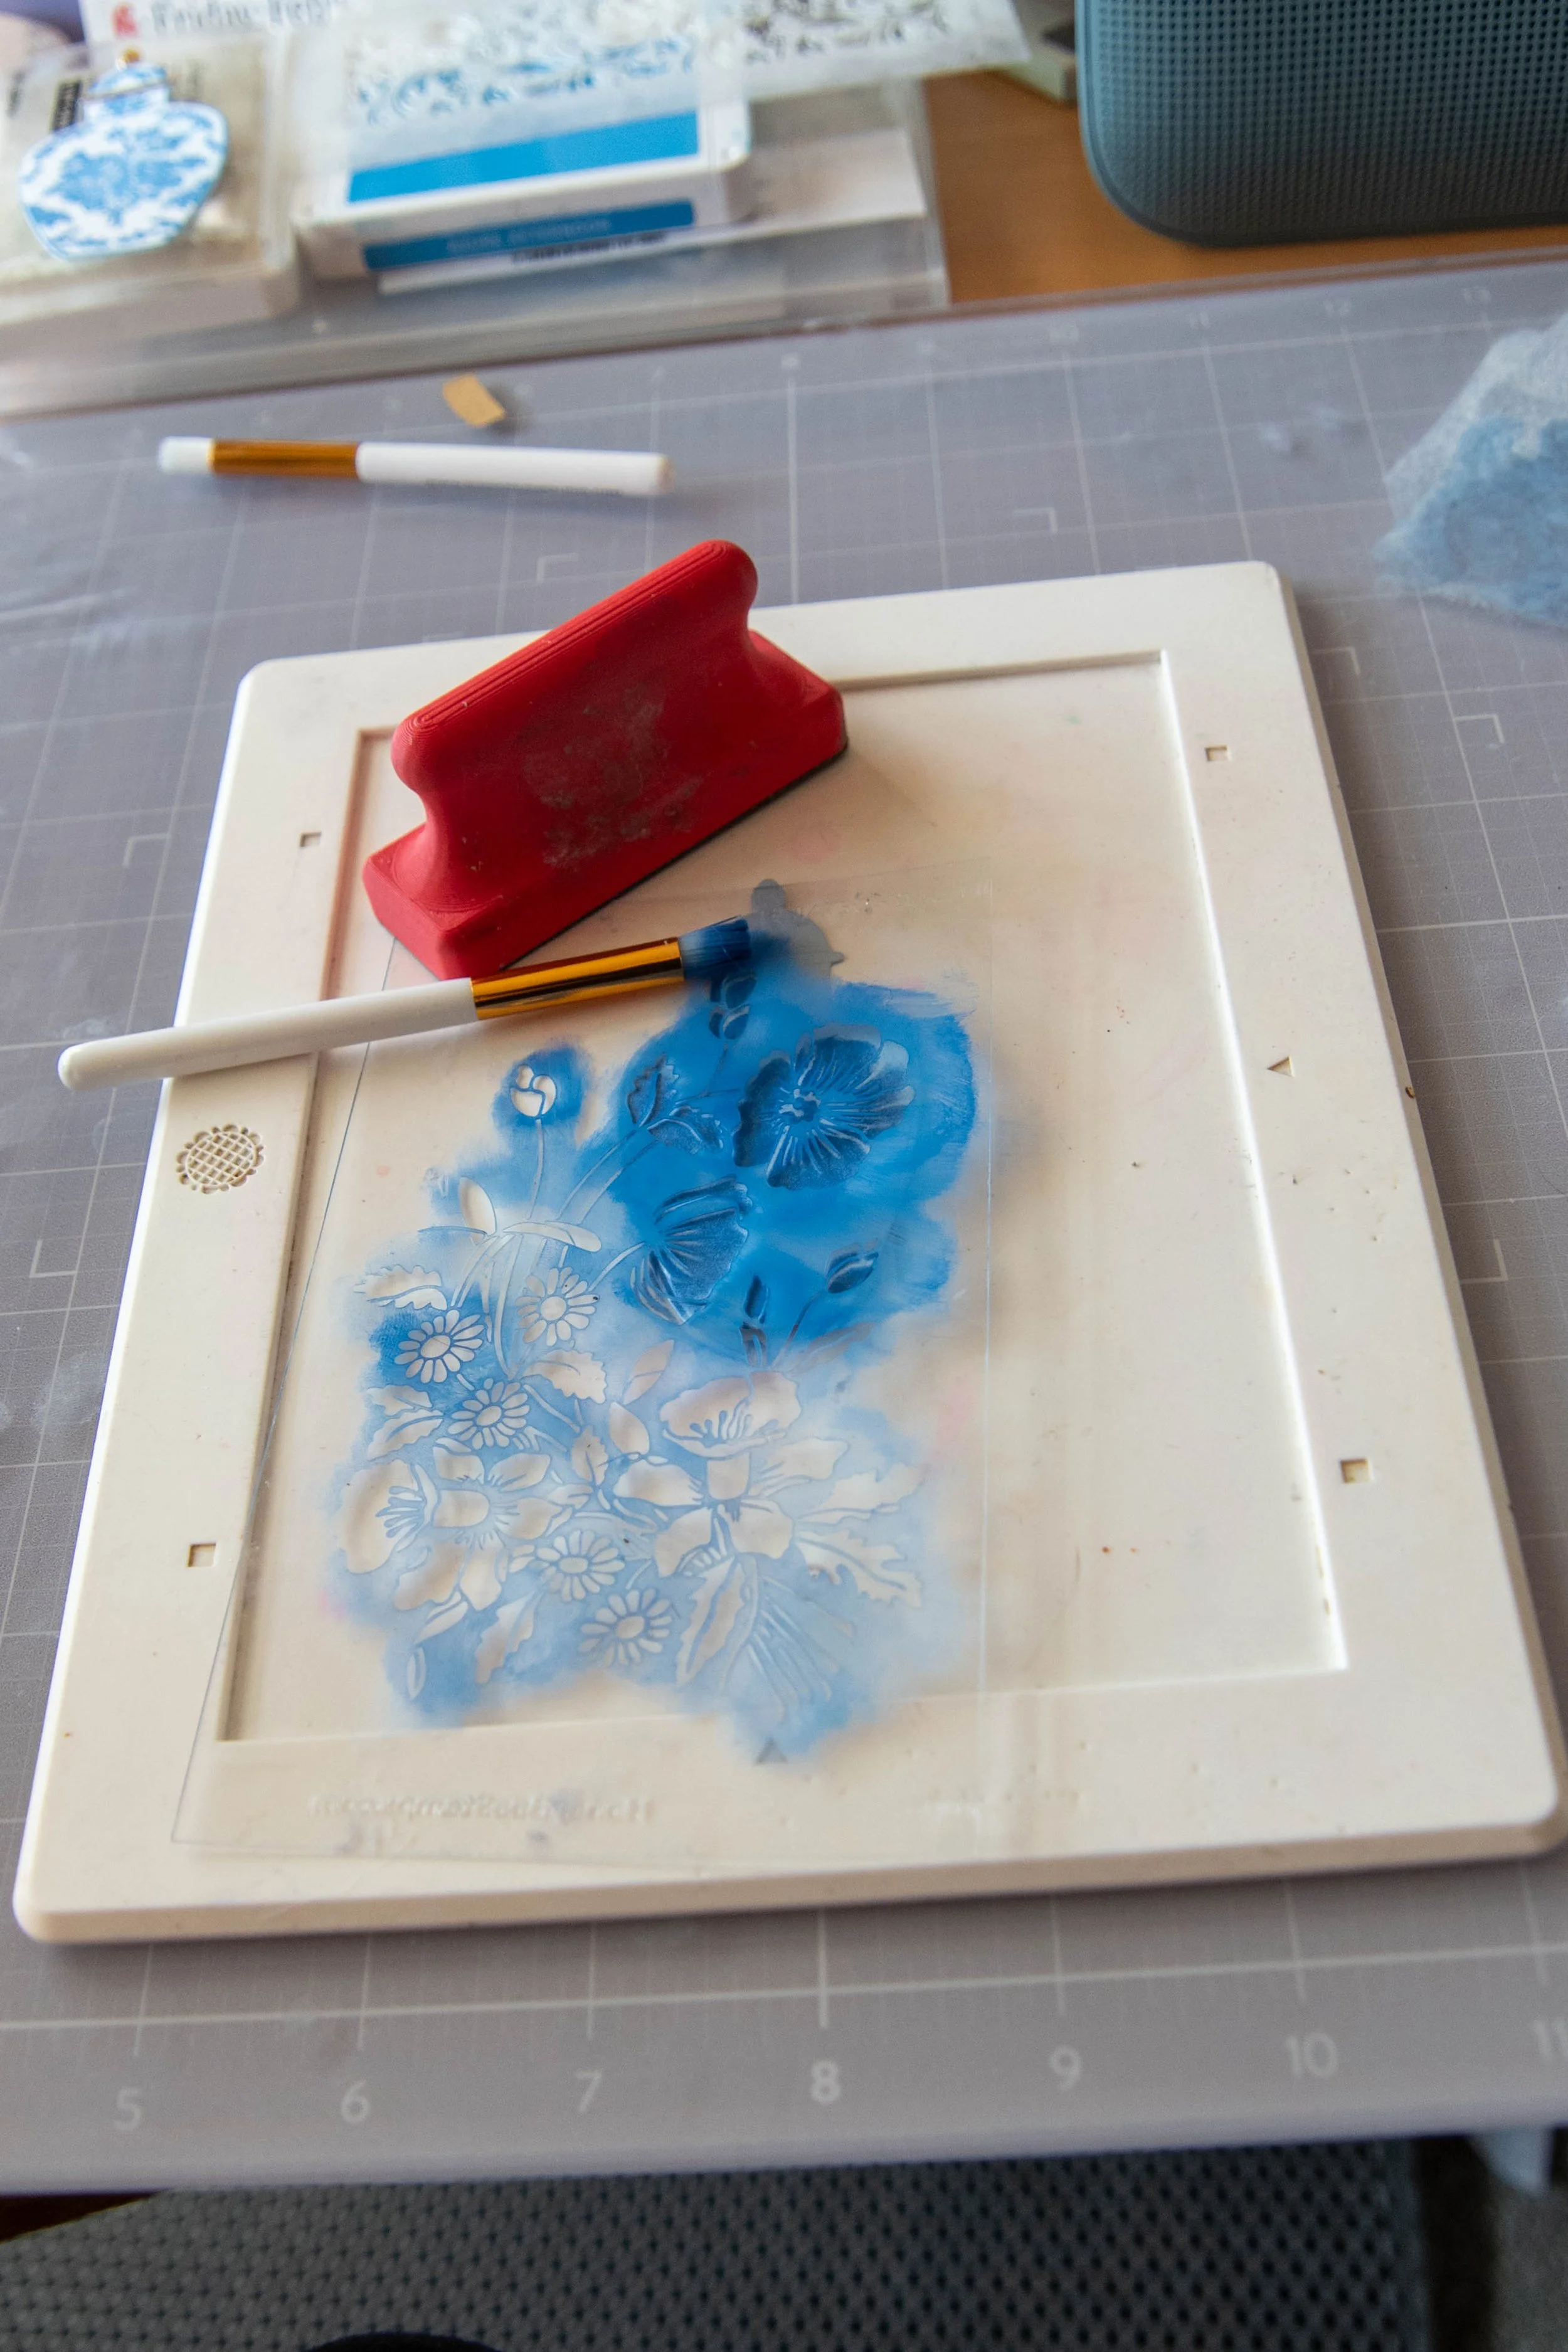
10. Take chinoiserie stencil from the Ginger Jar bundle and using the unicorn white pigment ink – stencil each side of the focal panel.
Frist Blend
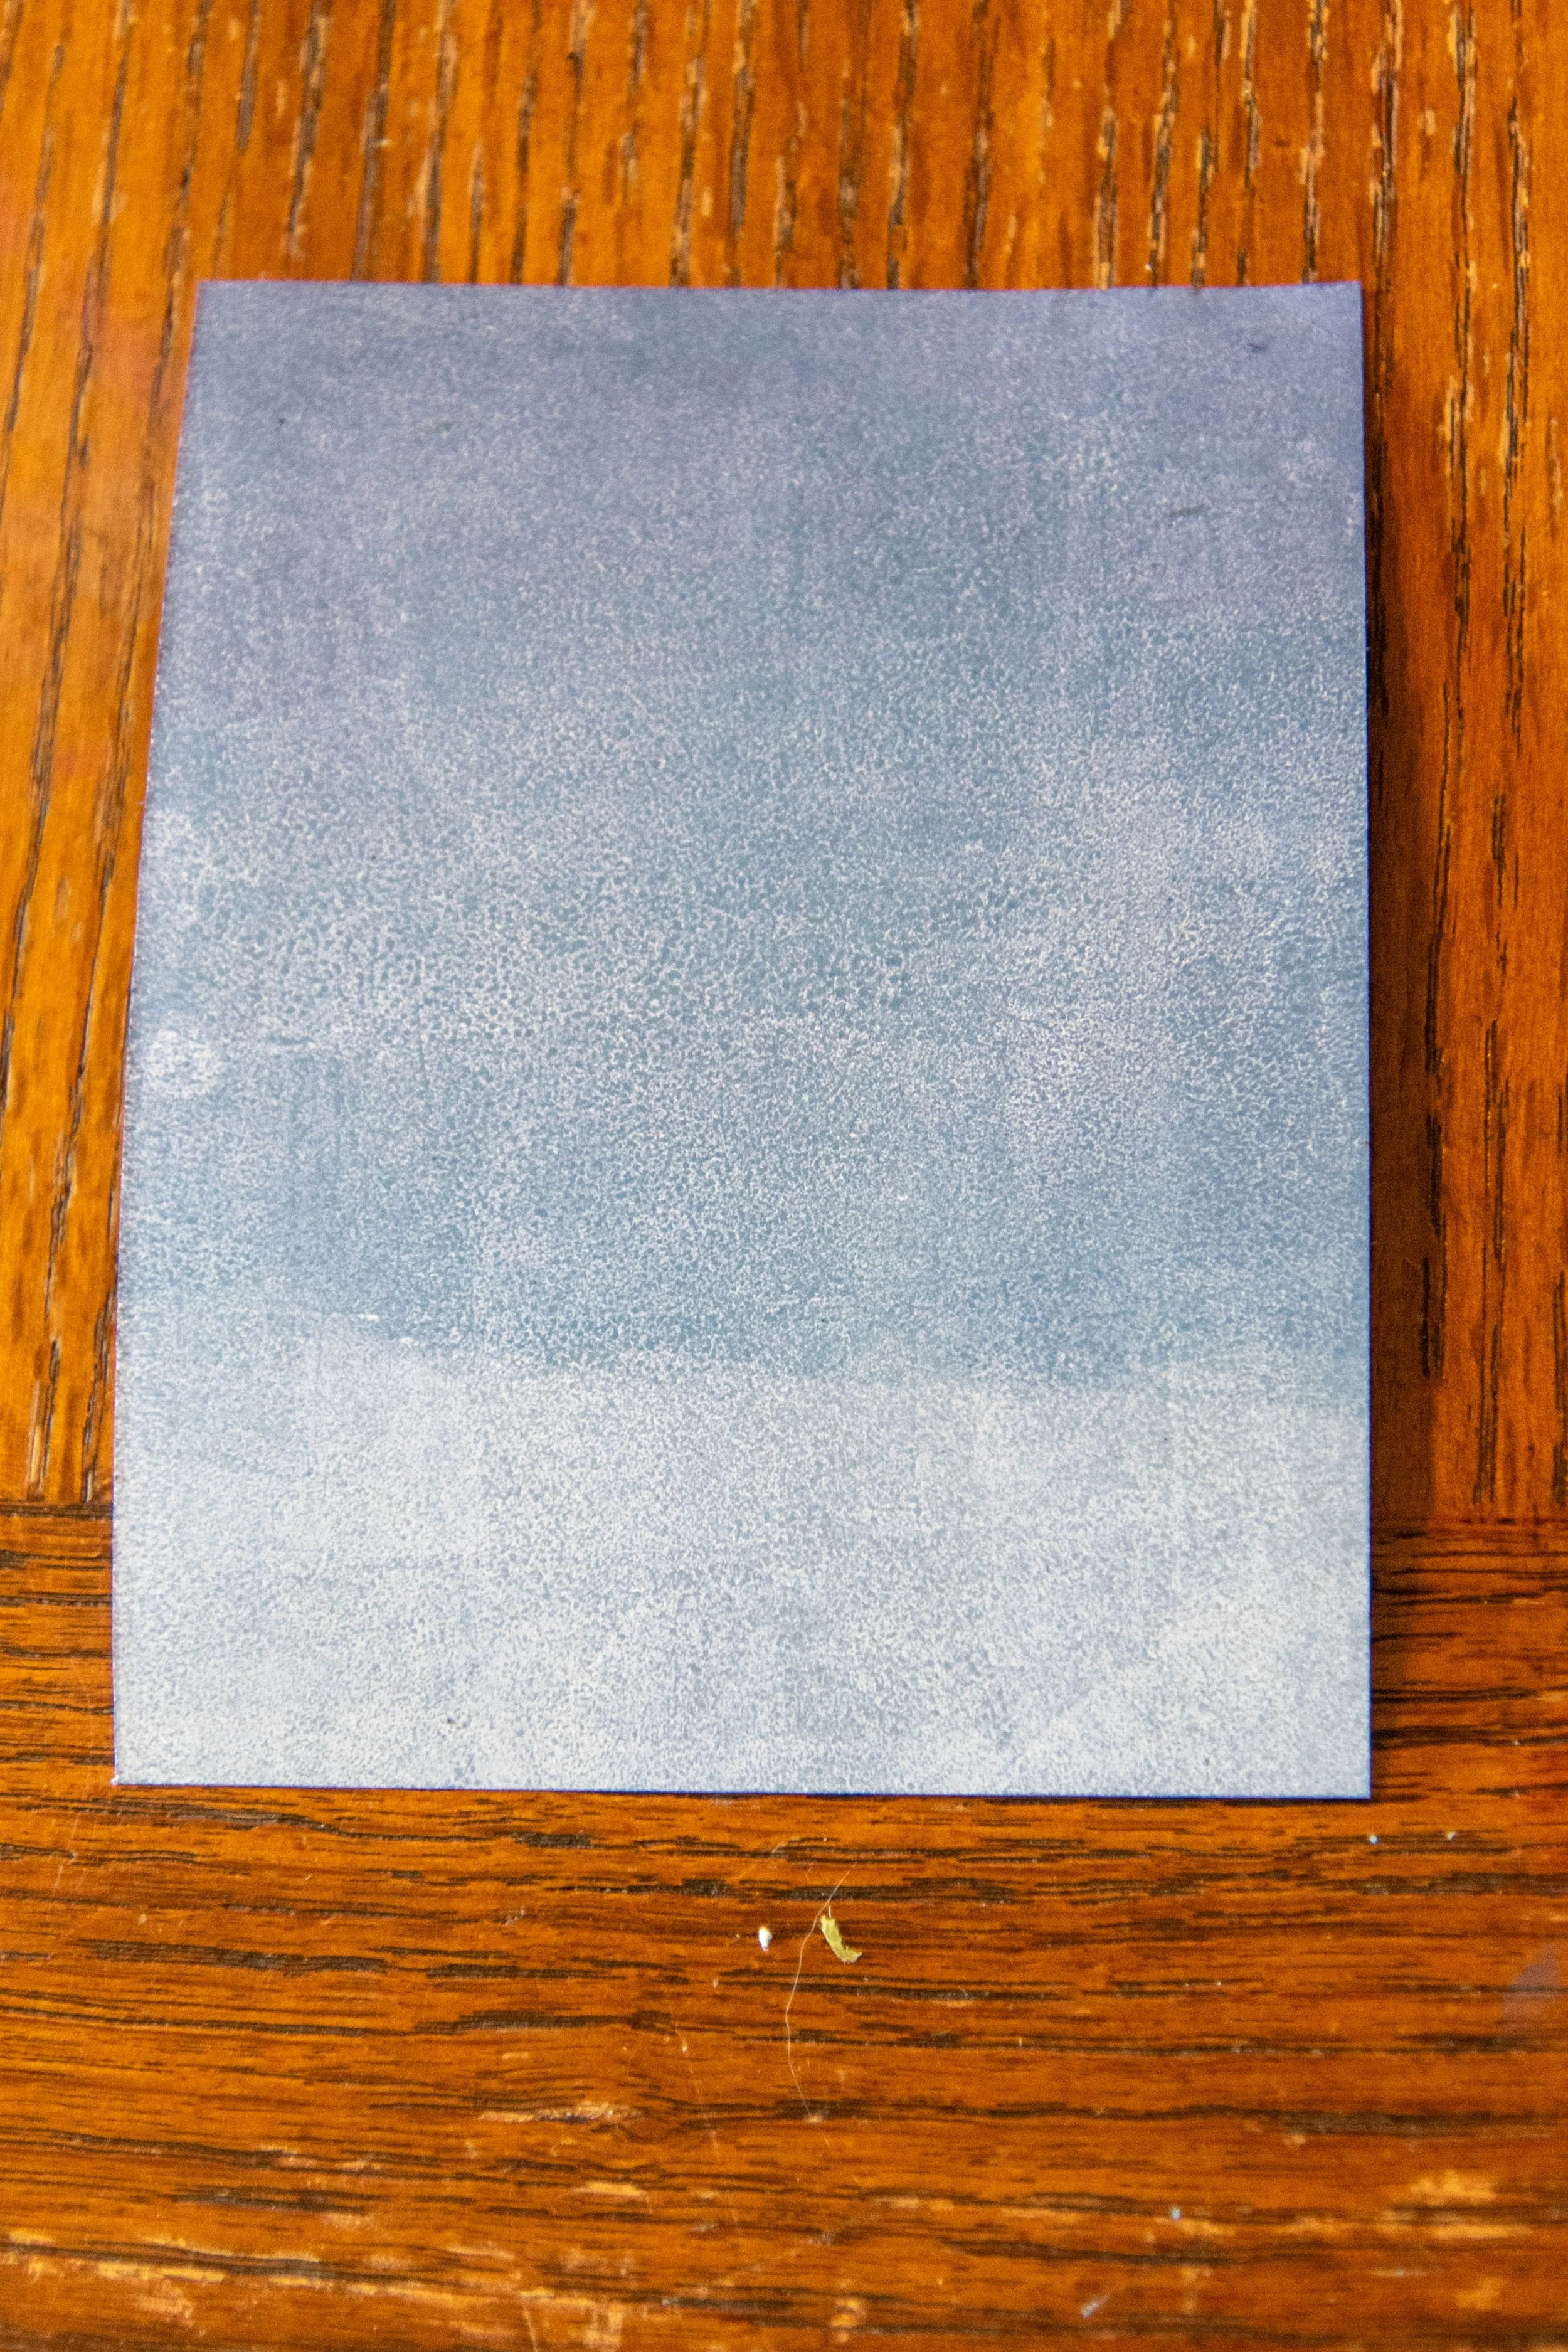
Second Blend
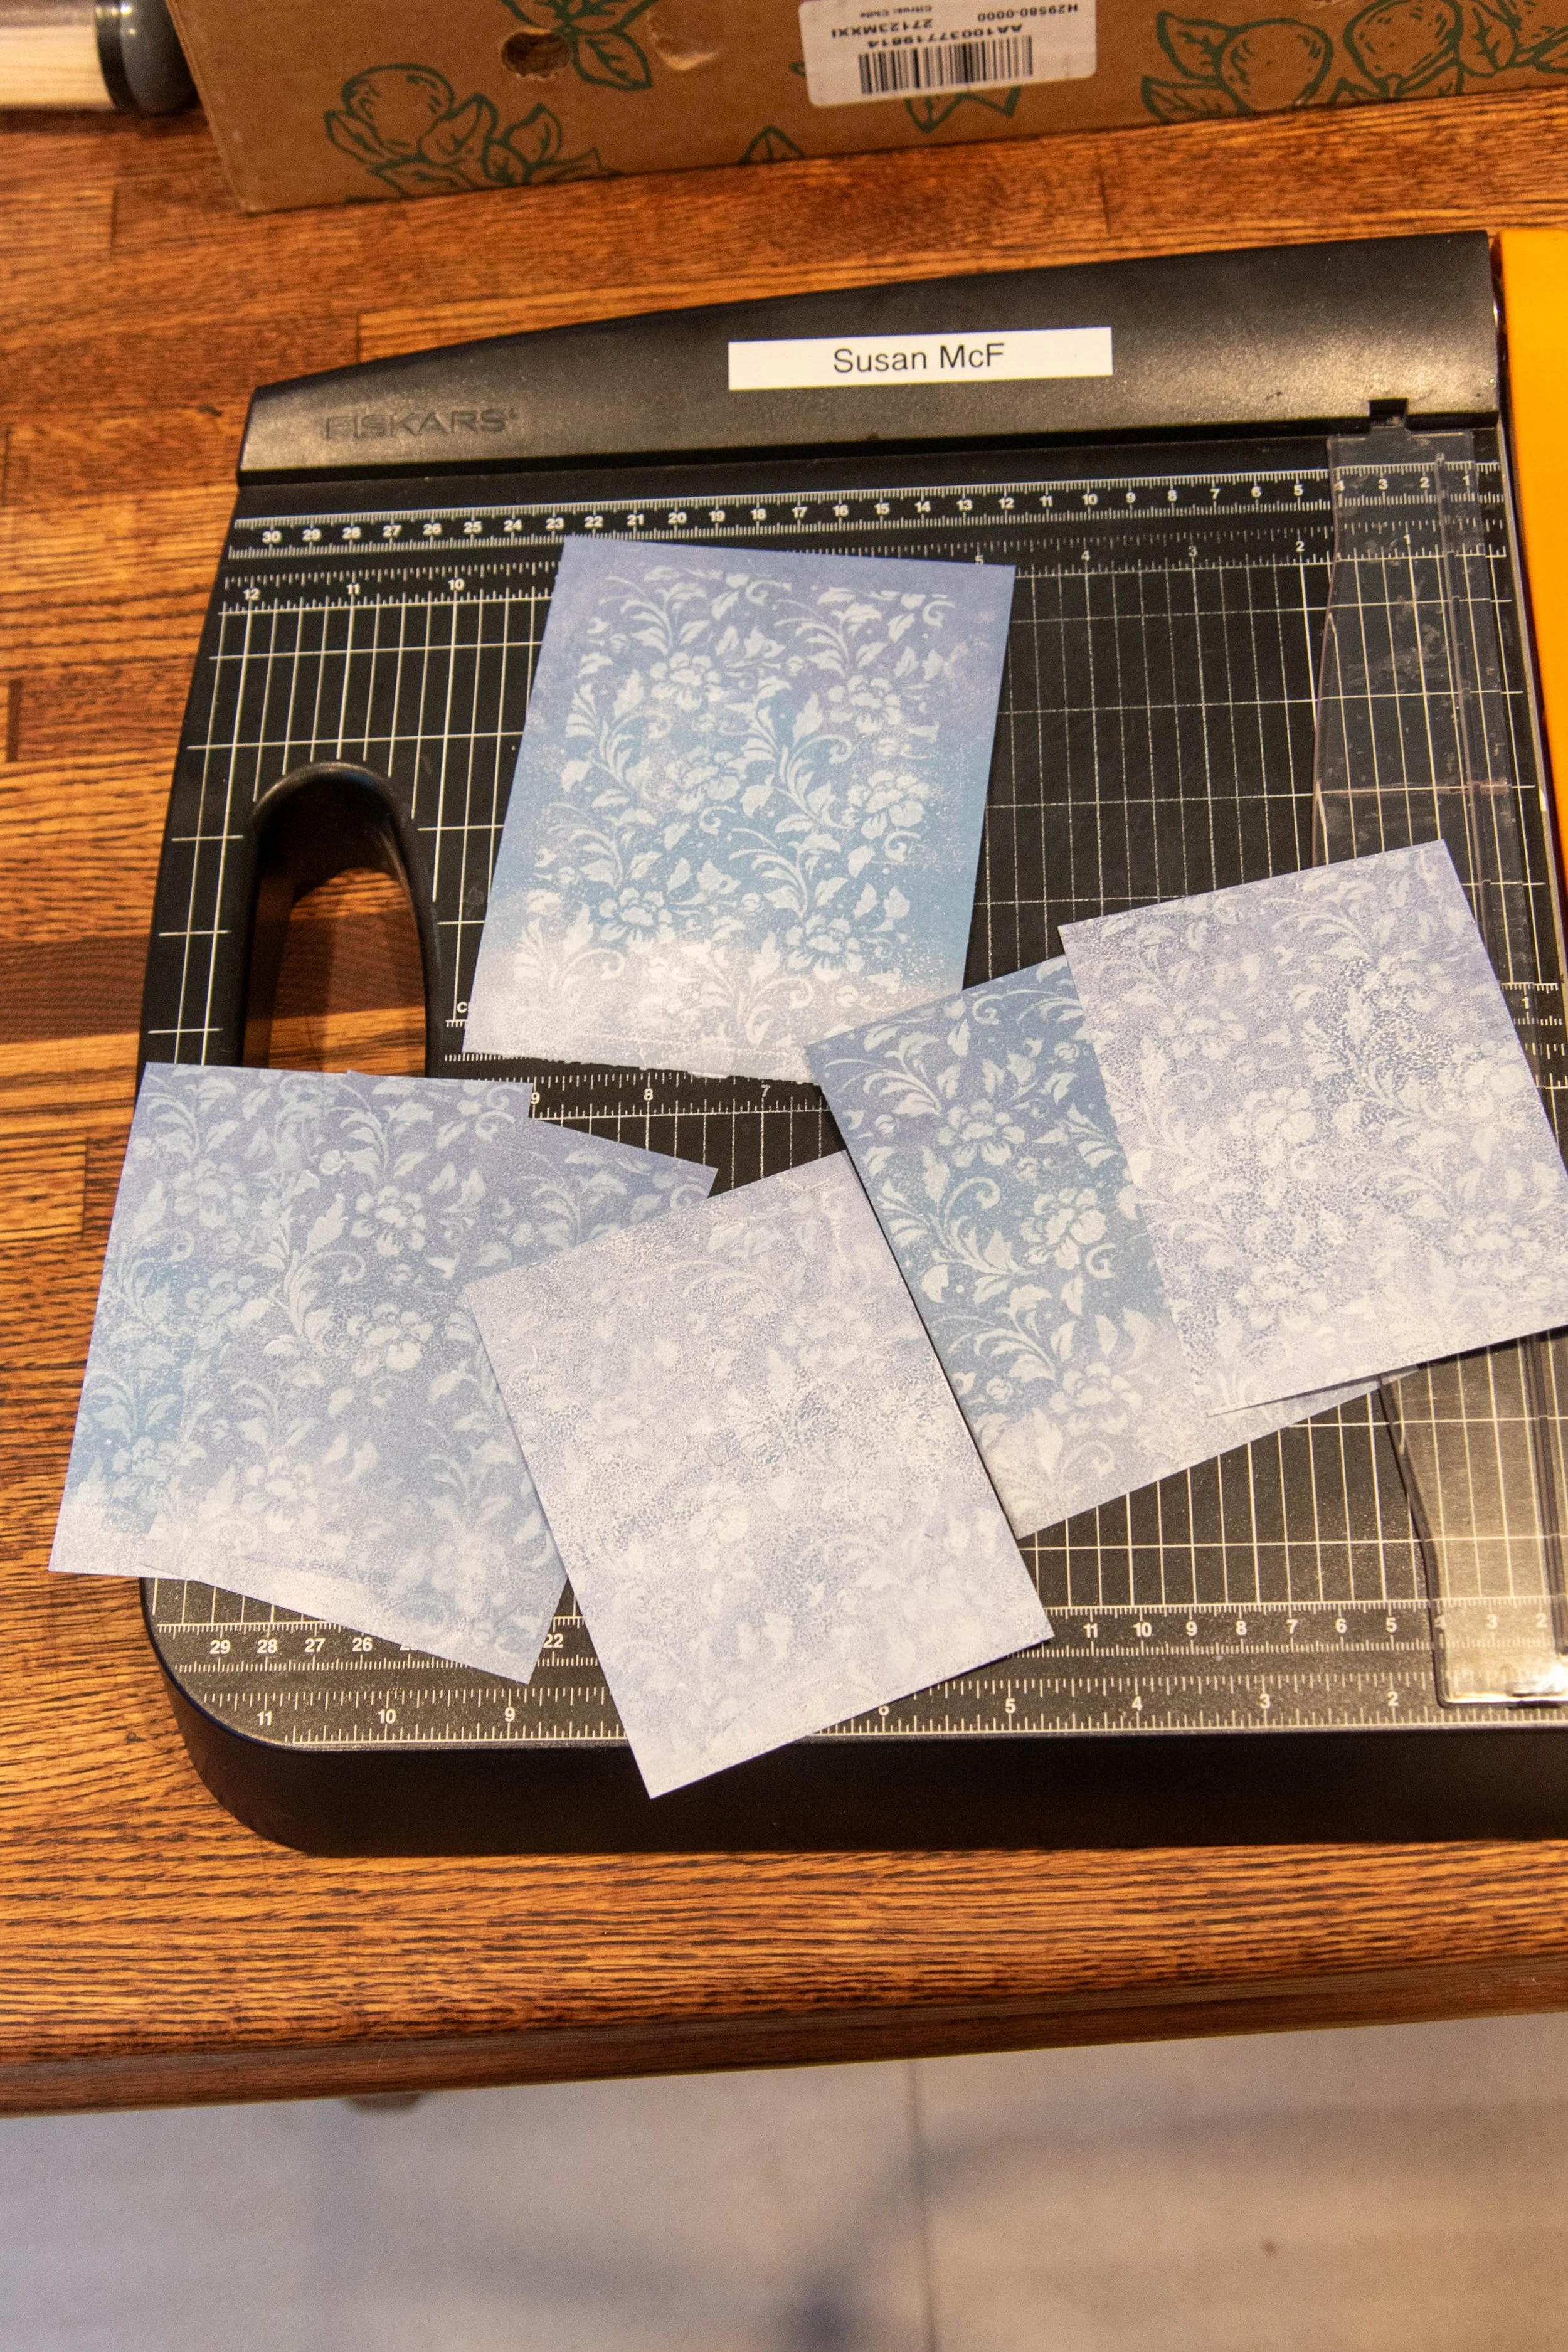
With chinoiserie stencil
Cut out the Jars
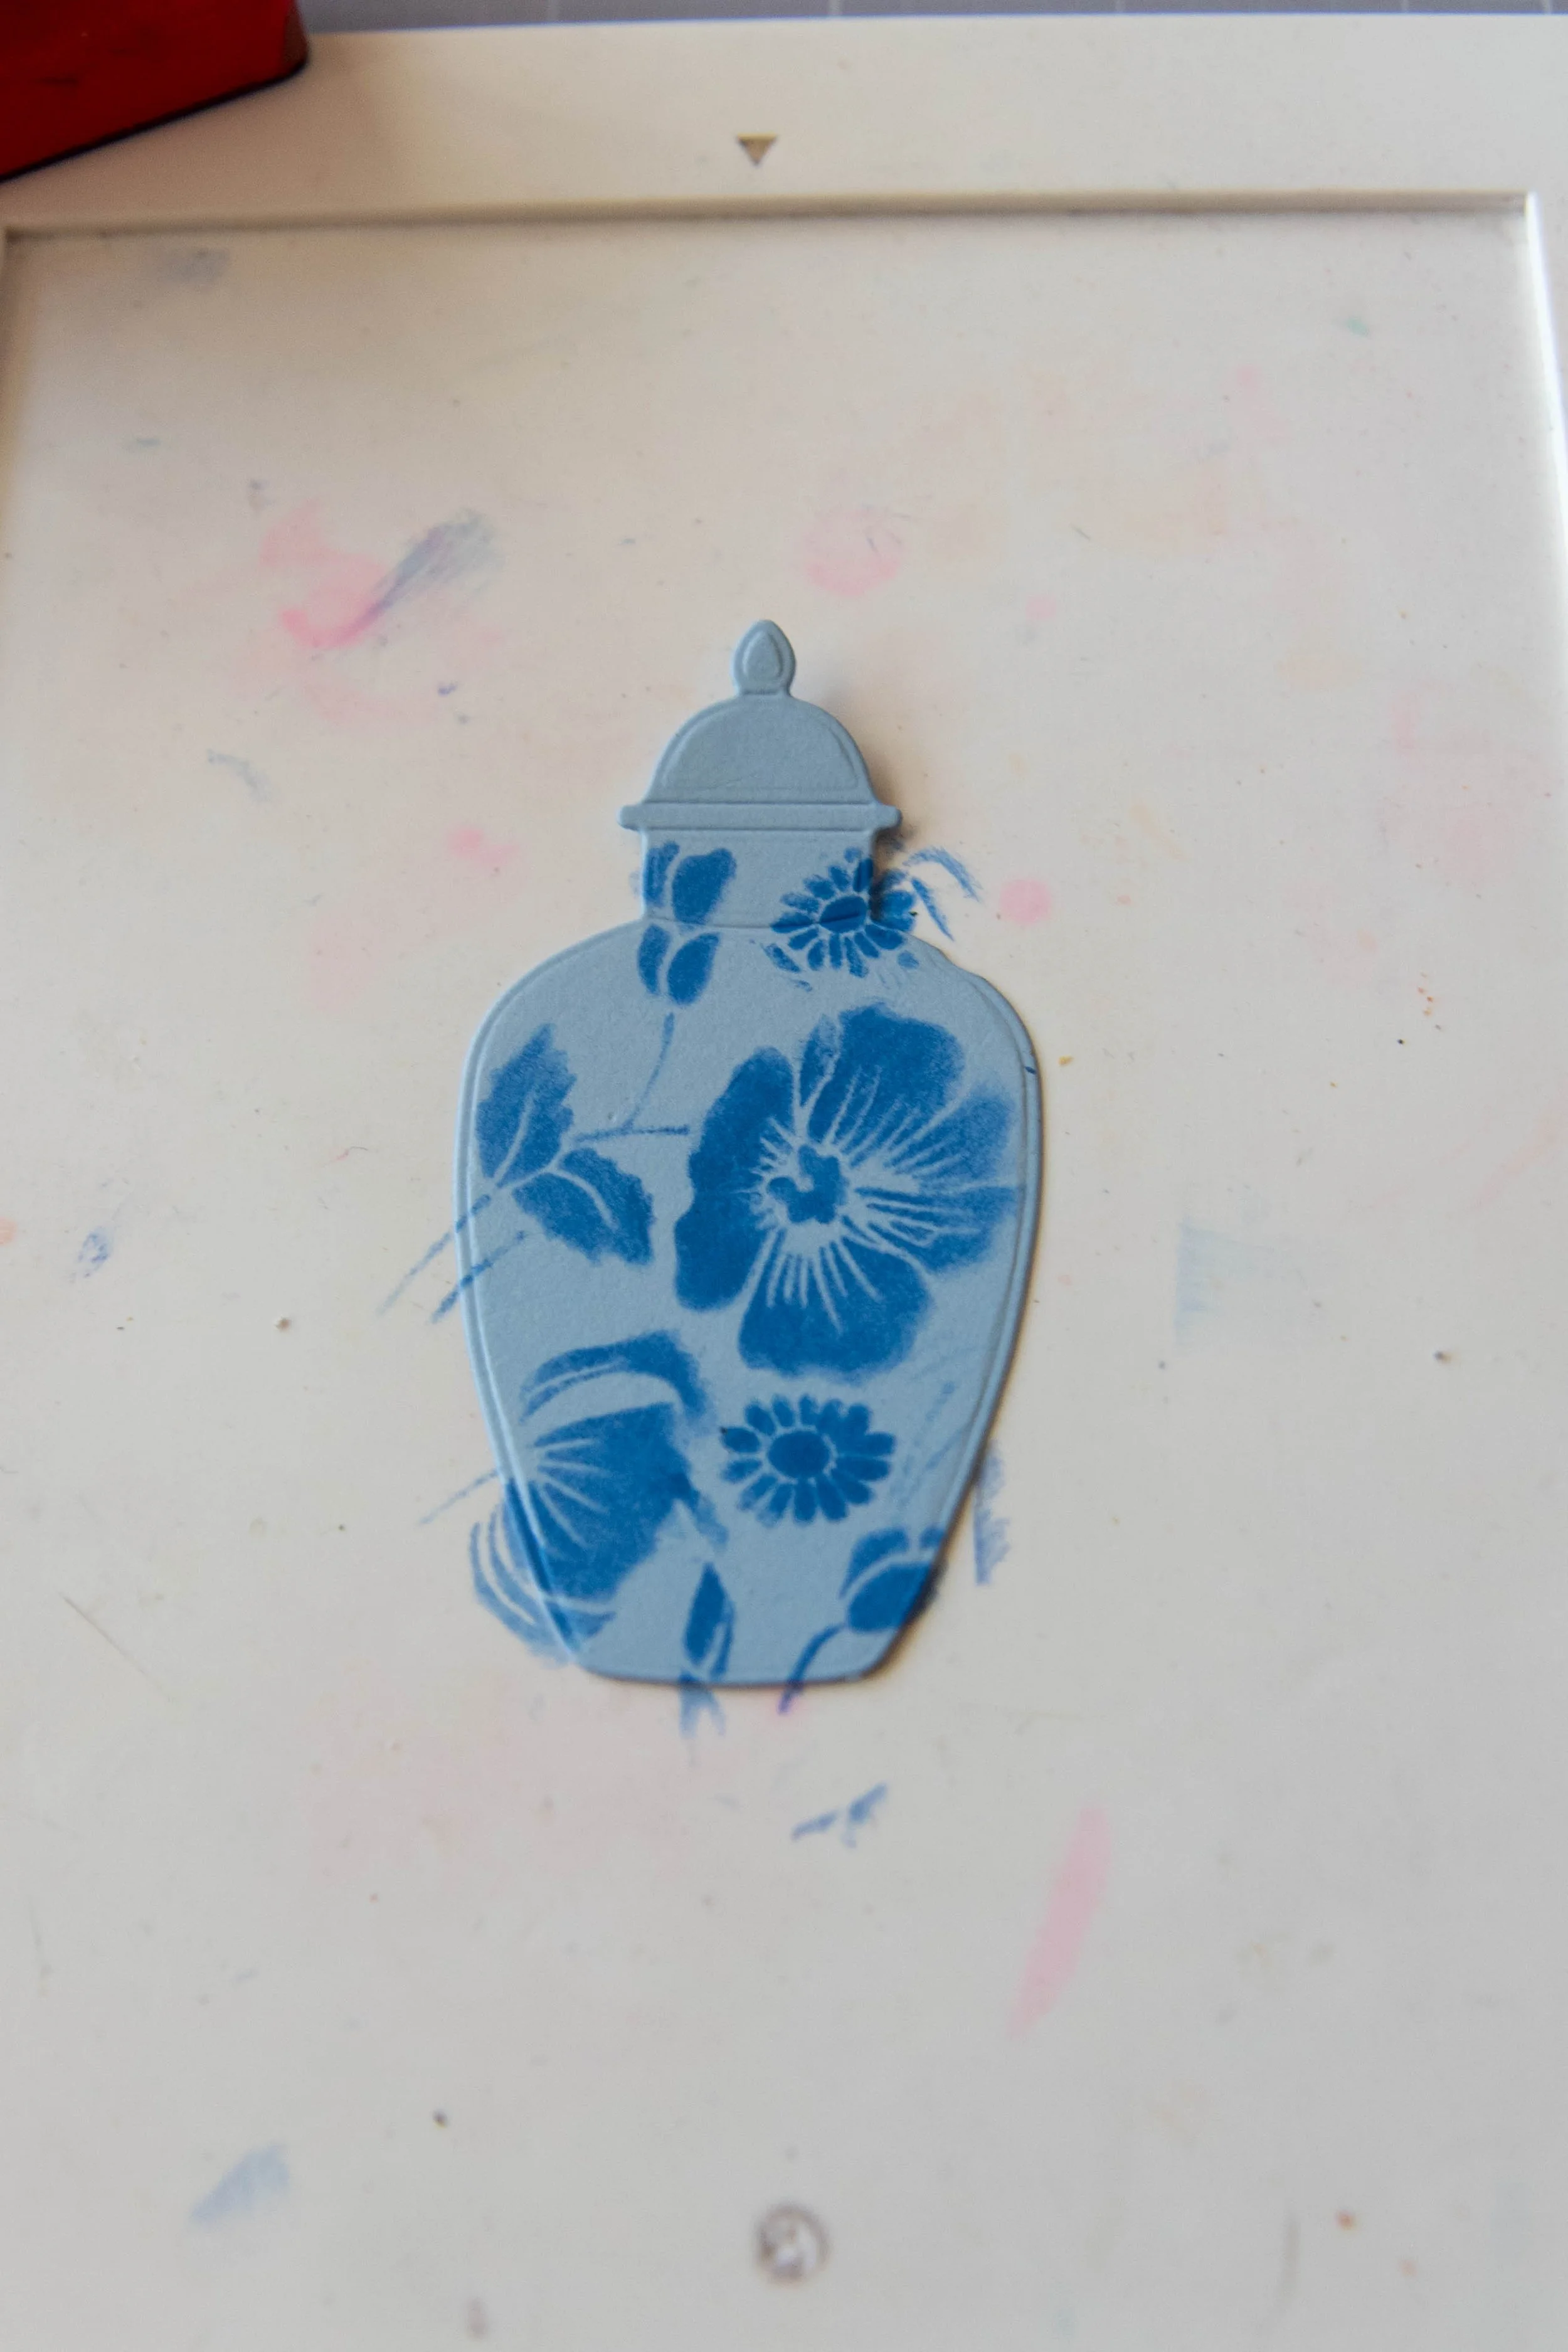
11. Ink the Ginger Jar Tall Jar and the Small Fat Jar stamps with the Prize Ribbon ink. Stamp onto white cardstock.
12. Using the die cut with no border – Die cut the stamped images.
13. Using the Large Jar Fat Die cut out an image from the middle of the seaside spray matting panel. Cut another image out of the blueberry bushel cardstock.
14. Using the center of the gold foil matting panel cut out lids for each of the jars using the lid dies.
Stencil and Put on the Gold lid/Trim
15. Using the Unicorn ink stencil the Blueberry Bushel Jar with the star like stencil.
16. Using the Prize Ribbon ink stencil the seaside spray Jar with the large floral stencil
17. Glue the lids and embellishments onto the die cut jars.
Gold Foil the Front Card Sentiment
18. Using the “forever friend” plate, foil gold onto the seaside spray cardstock or blueberry bushel cardstock.
19. Using the die cut out the sentiment. Use the die to cut out another image. Glue the two together.
Make the Interior
20. Cut out a 5-1/4” x 4” interior panel.
21. Burnish with Misty Moonlight ink.
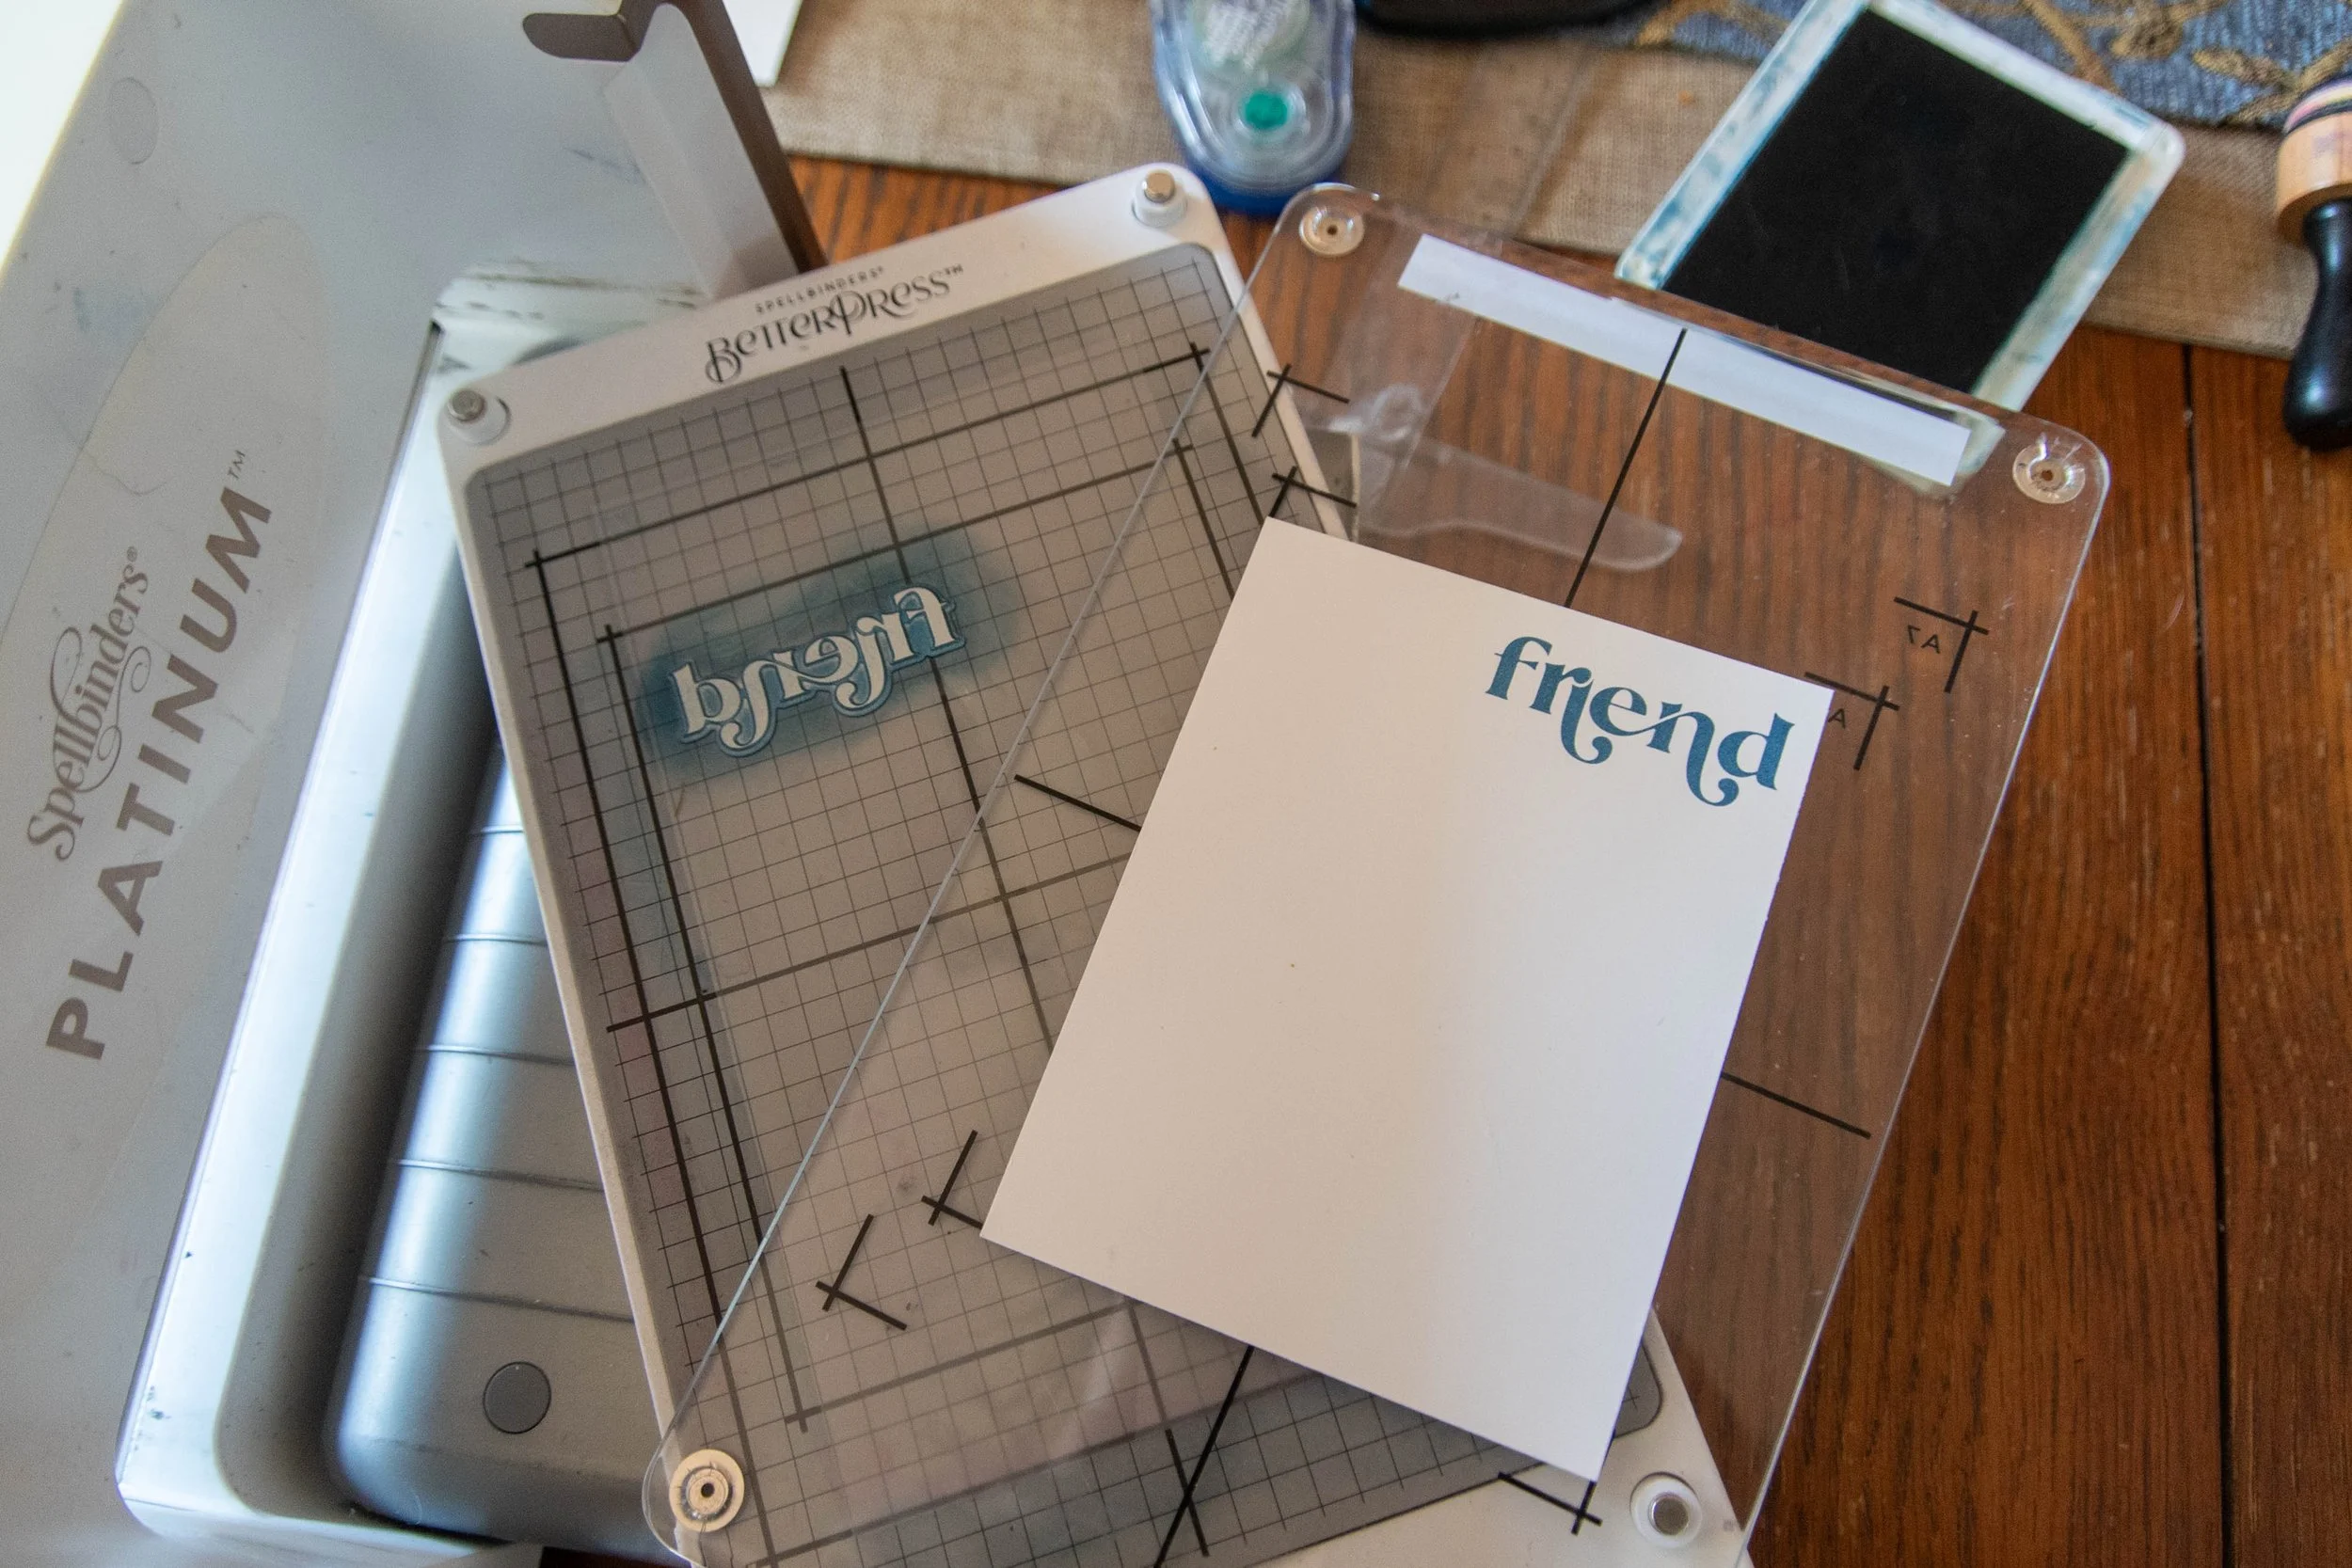
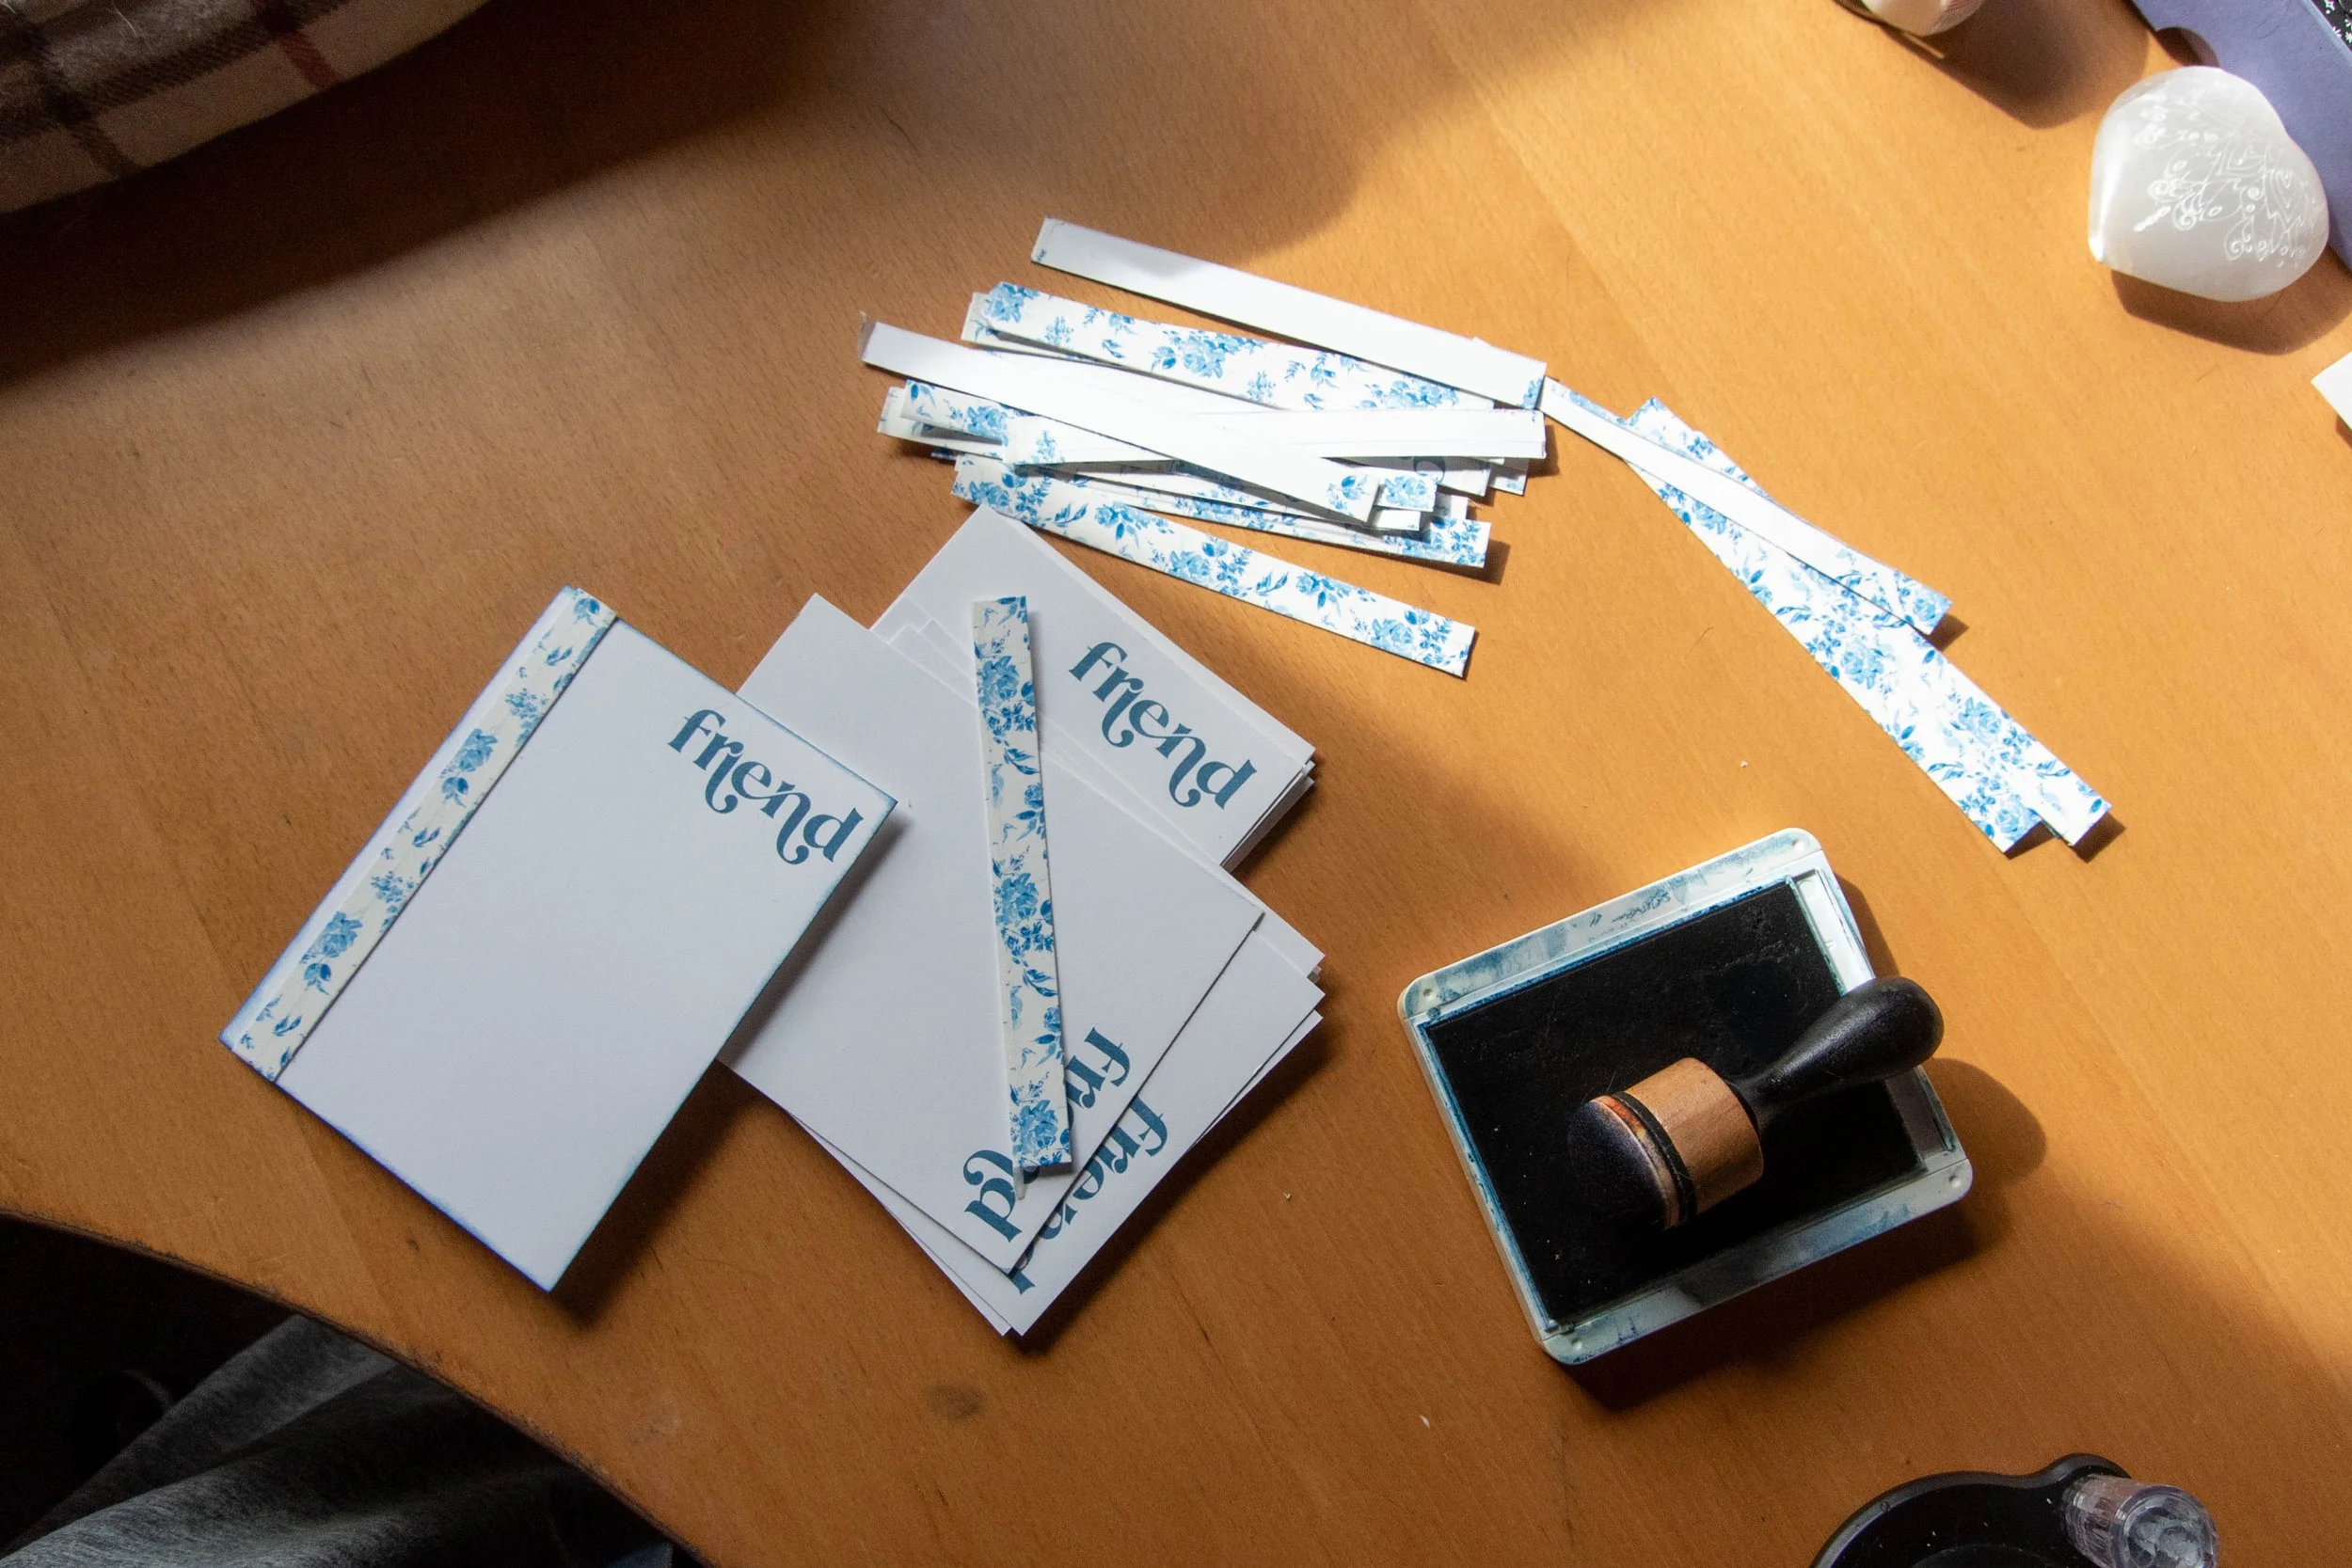
22. Using the BetterPress system – position the Friend plate so it will print onto the left upper side of the interior panel
23. Ink the “Friend” plate with misty moonlight ink.
24. Run the BetterPress system to impress the Friend onto the panel.
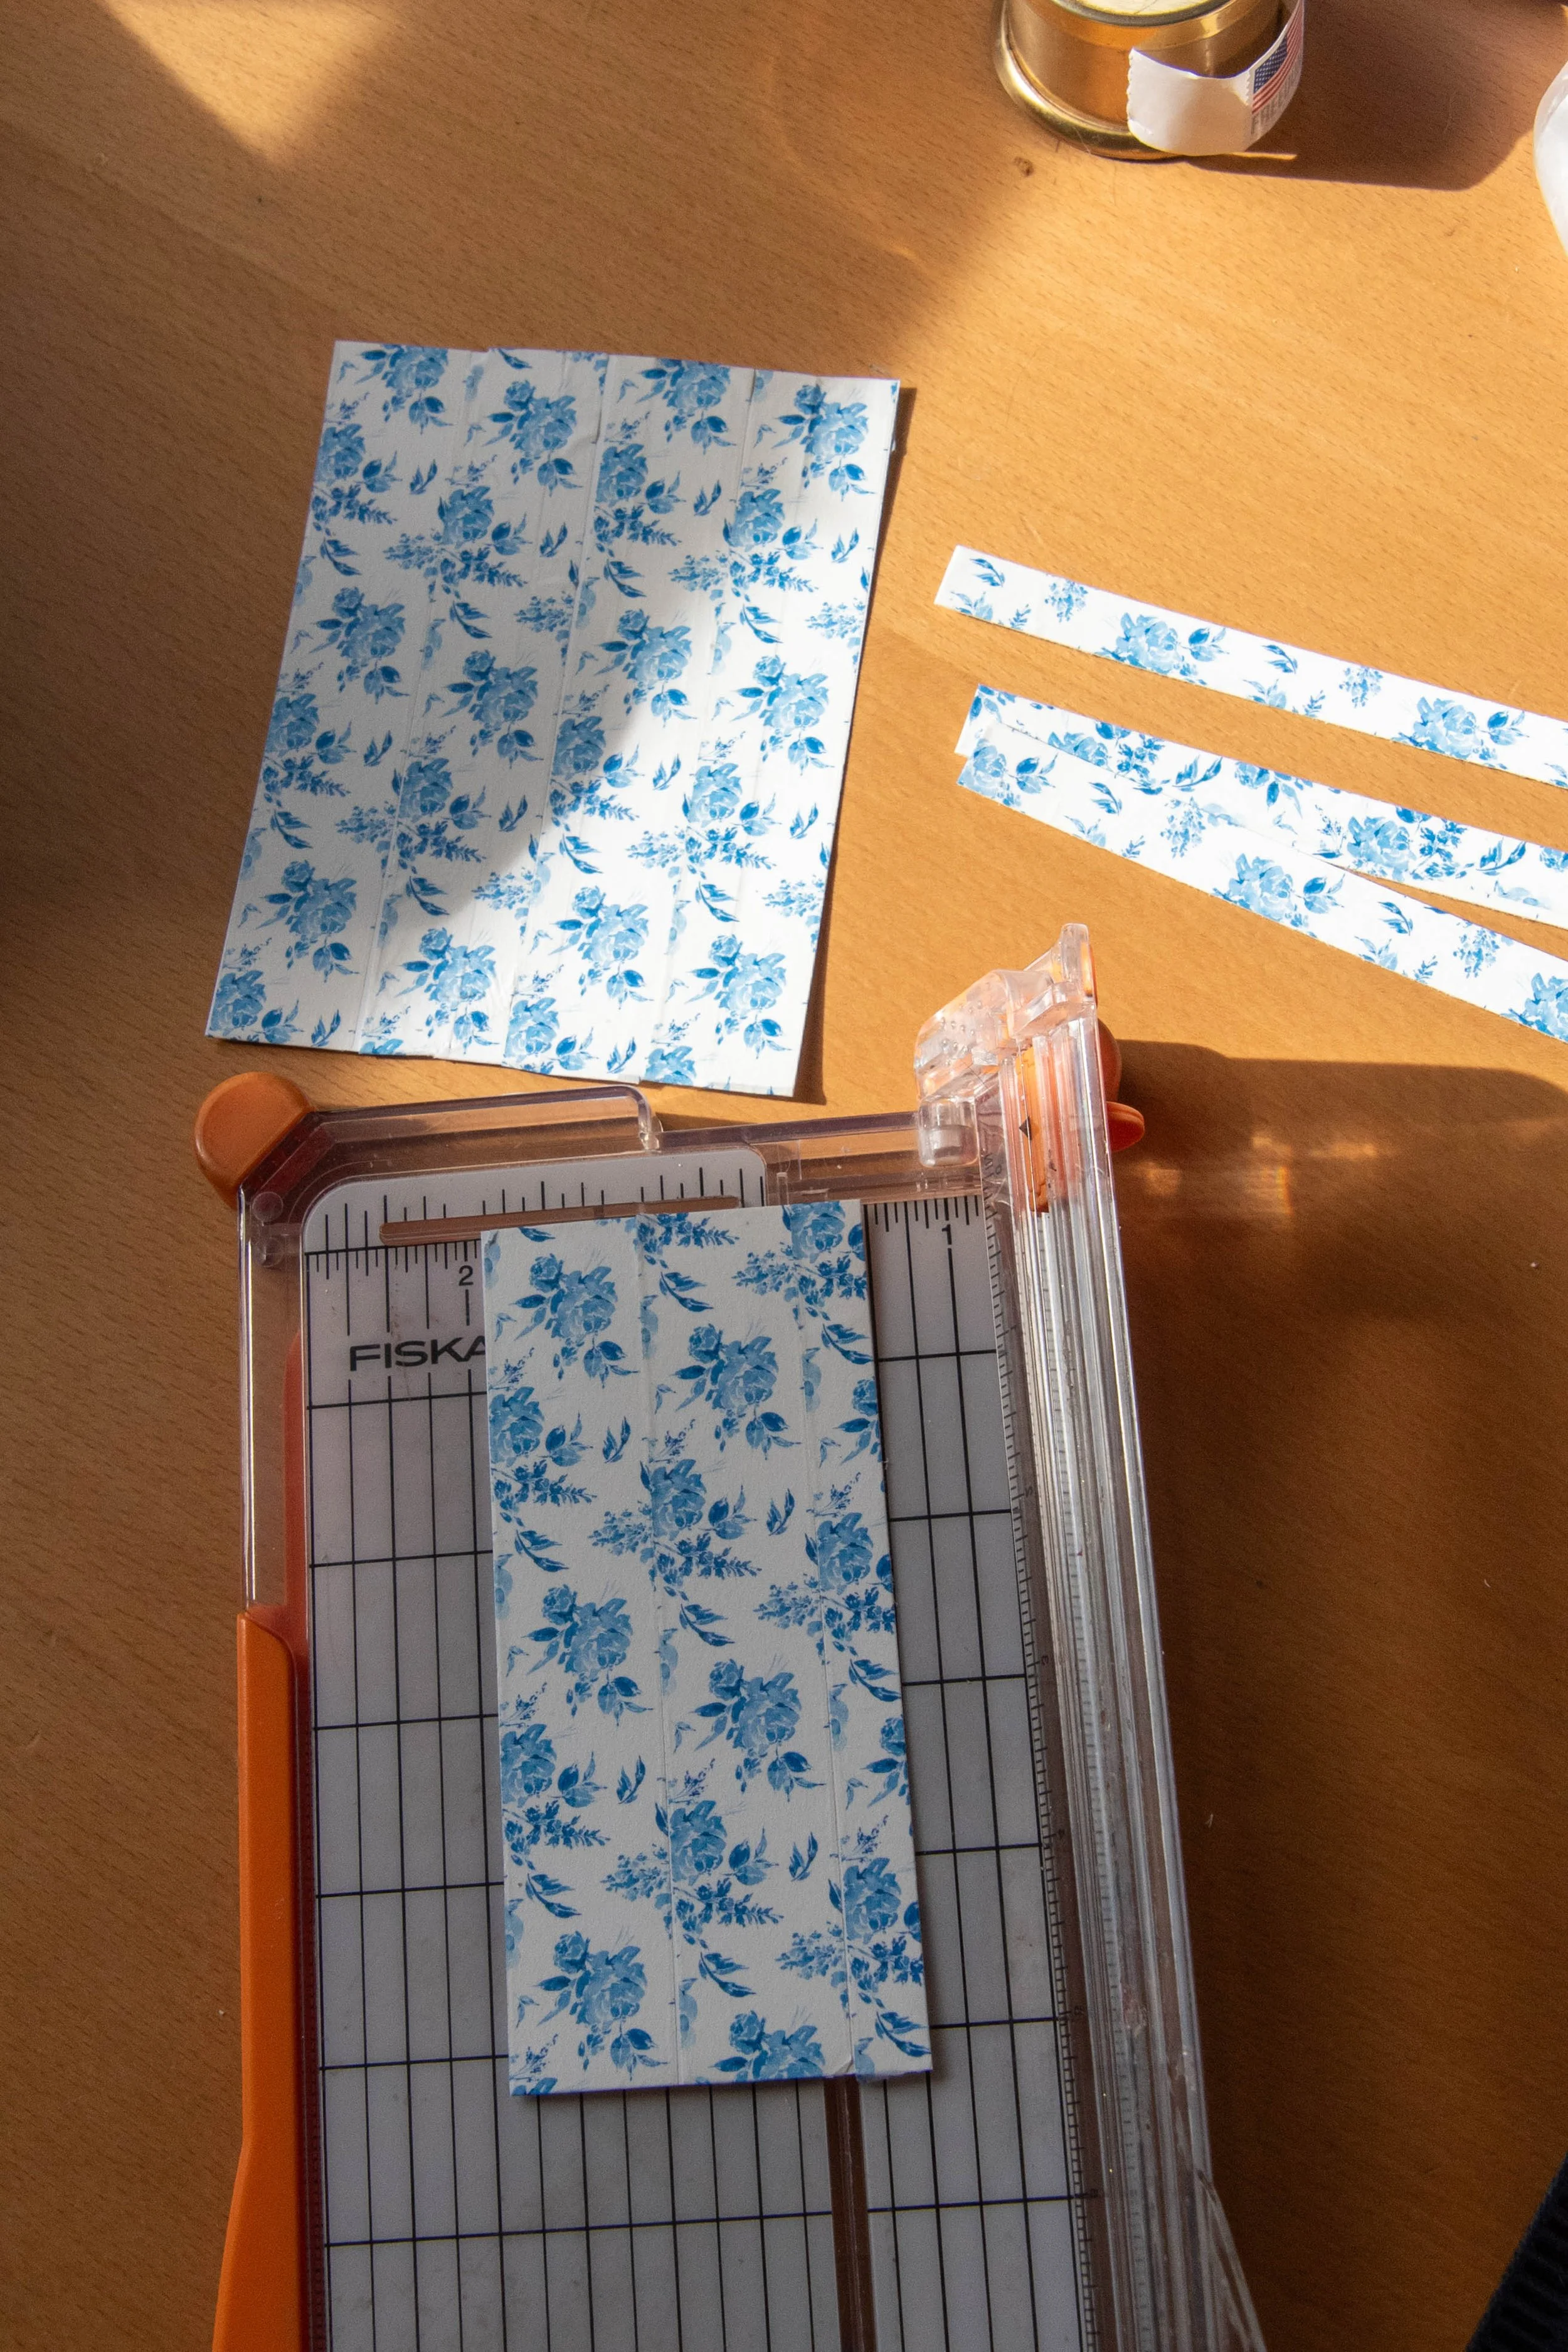
25. On a spare piece of paper apply the washi tape. Cut out ½” wide. Glue the washi onto the interior panel.
Assemble card
26. Glue the Seaside Panel onto the card base.
27. Glue the Gold Panel onto the Seaside Panel.
28. Glue the focal panel onto the Gold Panel
29. Glue the Jars onto the bottom of the card
30. Glue the Friends sentiment on the top of the card.
31. Glue the interior panel on the inside of the card.
List of products and tools
Non-Consumables
“Ginger Jar”, bundle (stamp, die, and stencil) set by Honey Bee Stamps; all three jars
“Paisley Glimmer” Hot Foil set by Spellbinders; “forever friend” plate and die
“Lovely Flowers” BetterPress set by Alt&New; “friend”
Consumable
Unicorn Pigment ink – Hero Hues from Hero Arts
Faded Jeans Distress Oxide Ink
Prize Ribbon Distress Oxide Ink
Chipped sapphire Oxide Ink
Stormy Sky Distress Oxide Ink
Misty Moonlight Classic Ink from Stampin’ Up
Misty Moonlight Cardstock from Stampin’ Up
Seaside Spray Cardstock from Stampin’ Up
Blueberry Bushel Cardstock from Stampin’ Up.
White Hammermill Premium Cover Copy Paper
Gold Foil for the Glimmer System
Gold Foiled Cardstock
Washi Tape – blue flowers on white background. (from my stash)
White Hammermill Premium Cover Copy Paper
Special Tools
Brayer
Gel Press
Glimmer Hot Foil System by Spellbinders
BetterPress System by Spellbinders
Platinum Machine by Spellbinders