
Swirls and Curls Thanks
I start my year of designing cards with a Thank You card. It is my way of starting the year in a spirit of gratitude. This is the 2026’s version. I got the inspiration for this design from Jennifer McGuire’s (09.02.25) technique video, which I linked below.
For this card, I actually incorporated two of the techniques she featured on that video. I am grateful for so many crafters online that share their talents. Jennifer is one of the best. I loved how the colors mixed and gave a pretty blue green feeling to the card.
This card is a 5.5” by 4.25” card (A2). The products used on this card are listed at the end of the page.
Step by Step Instructions for making this Card.
Make the Card Base
1. Make the card base with Pool Party Card Stock for an A2 card. (See Card Basics).
Ink the Watercolor Panel
2. Cut out a 5 ½” by 4 ¼” panel from the watercolor paper.
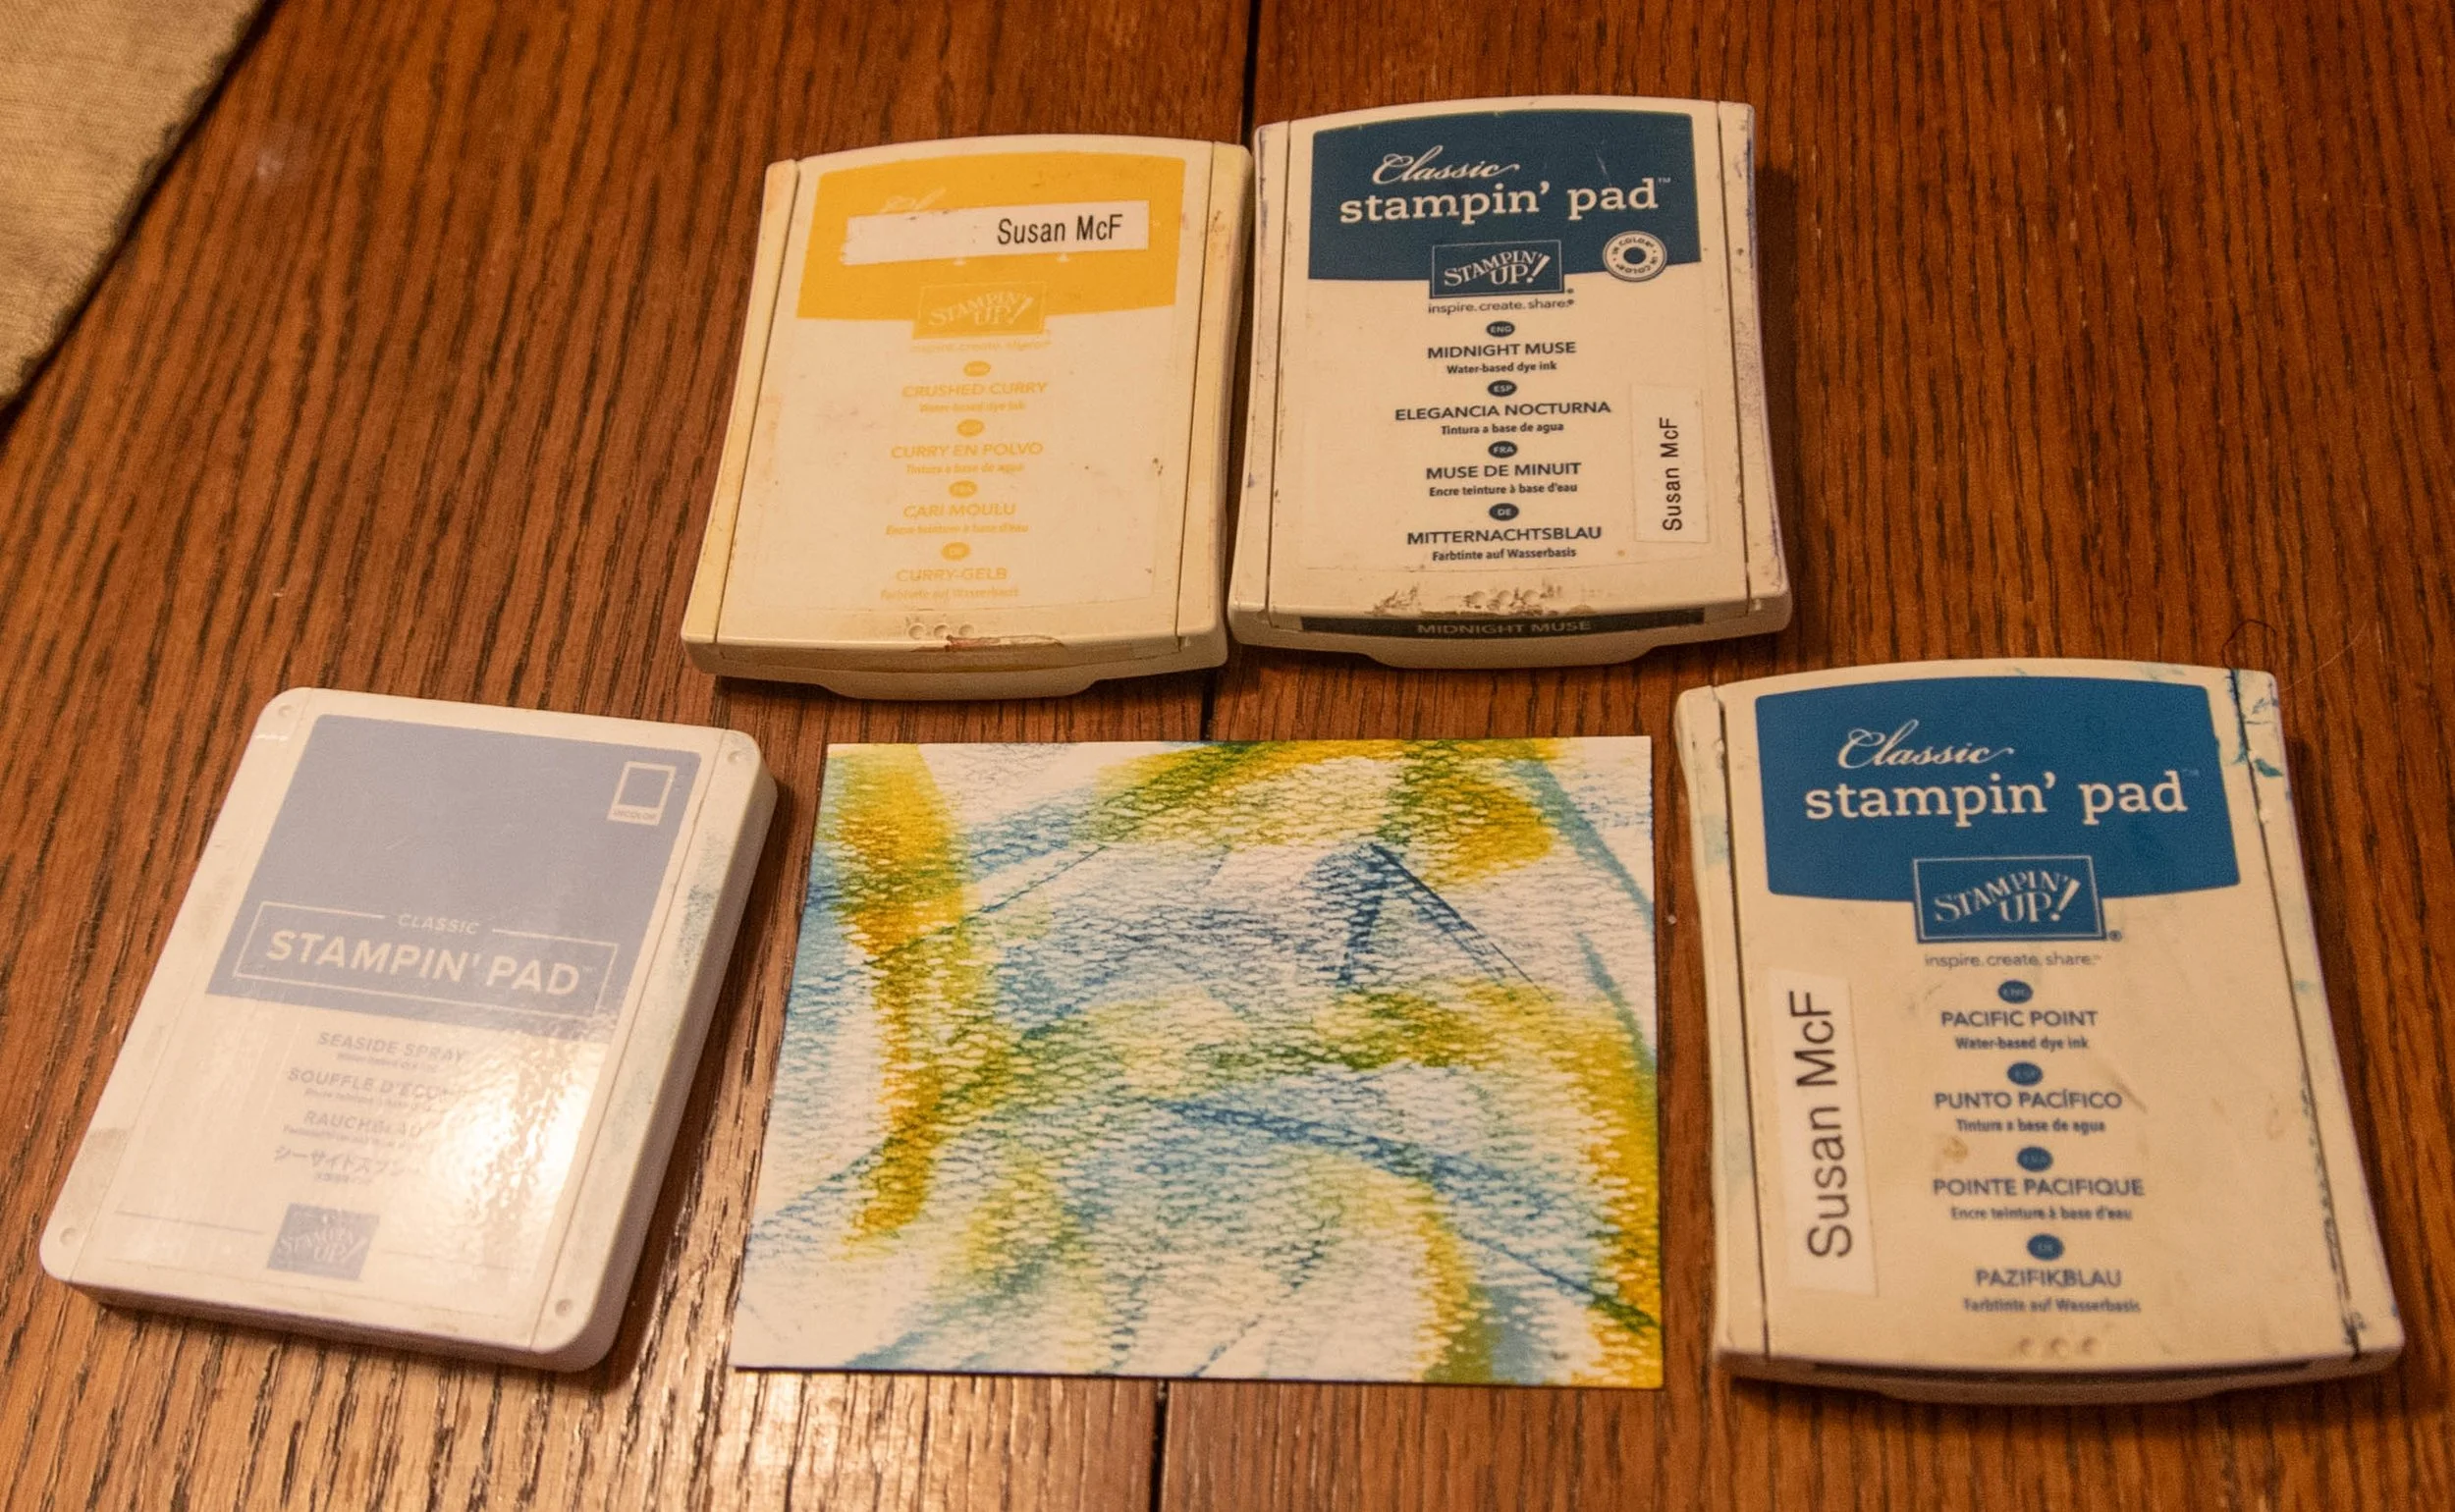
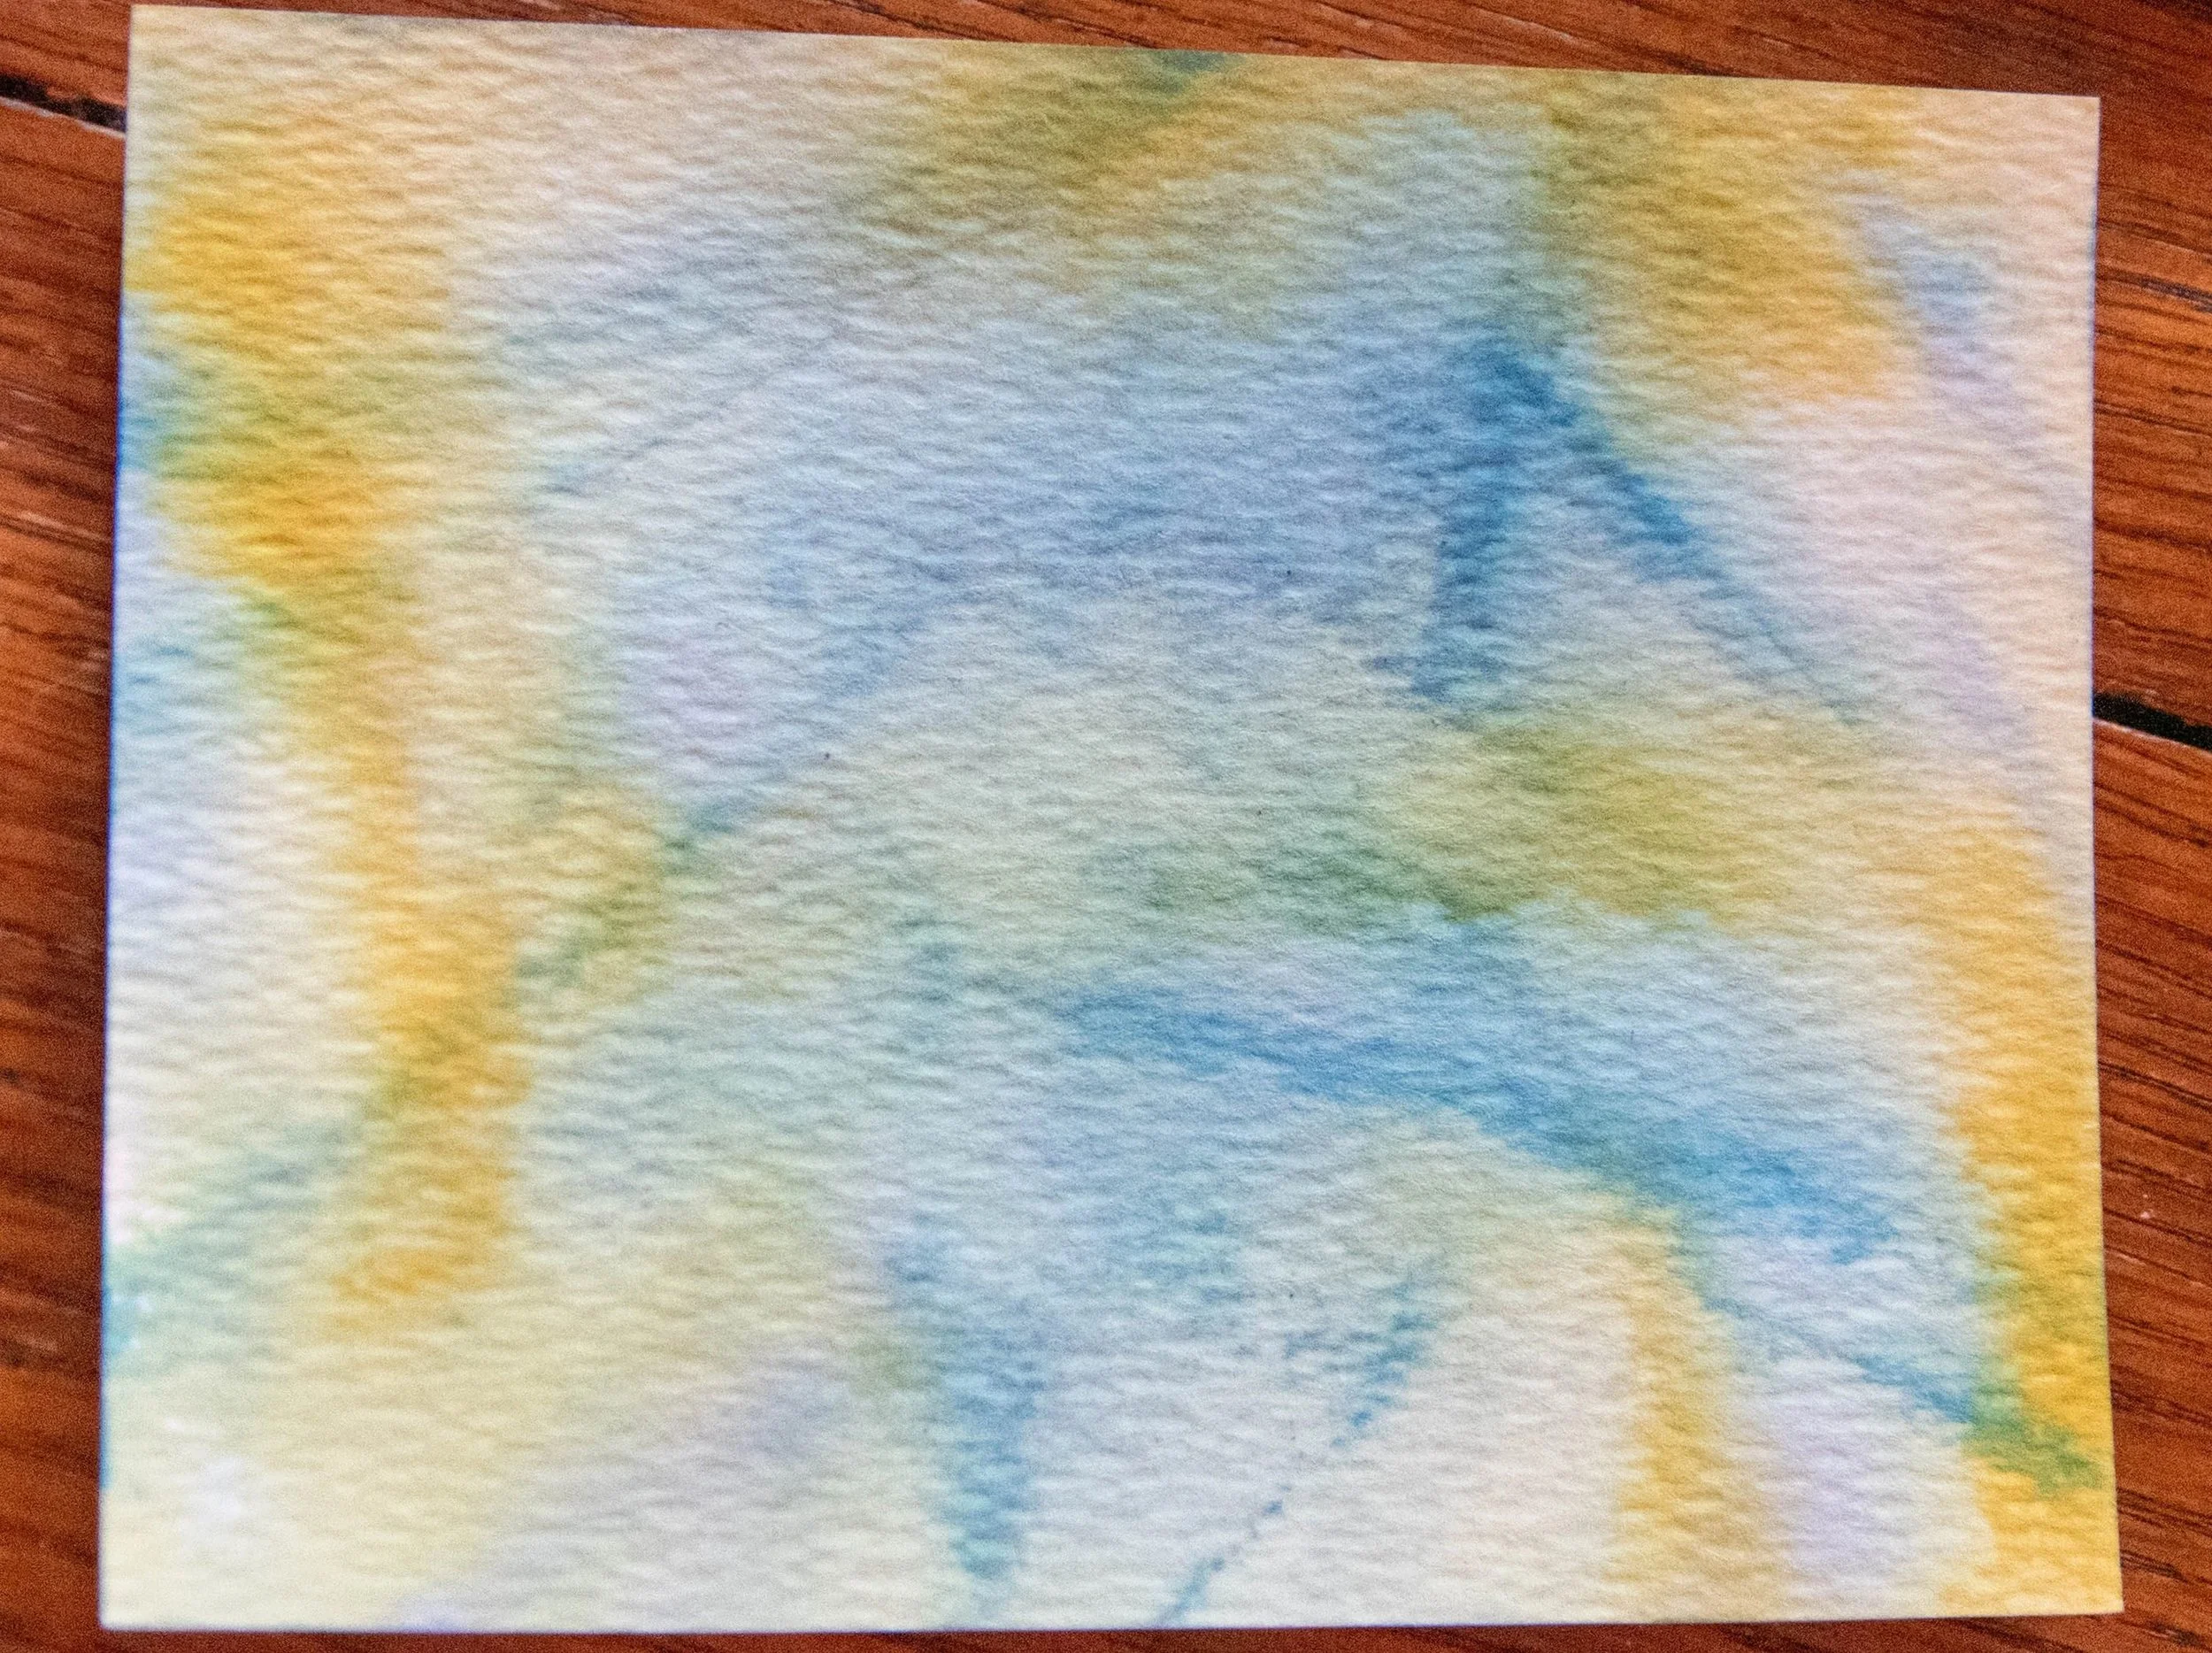
3. Drag the four colors of ink: Midnight Muse (Dark Blue), Pacific Point (Bright Blue), Seaside Spray (Soft Blue), and Crushed Curry (Bright Yellow) over the paper. Overlap in some spots and keep the colors separate in other.
4. Mist the watercolor paper with water to activate the ink movement on the paper.
5. Set aside to dry.
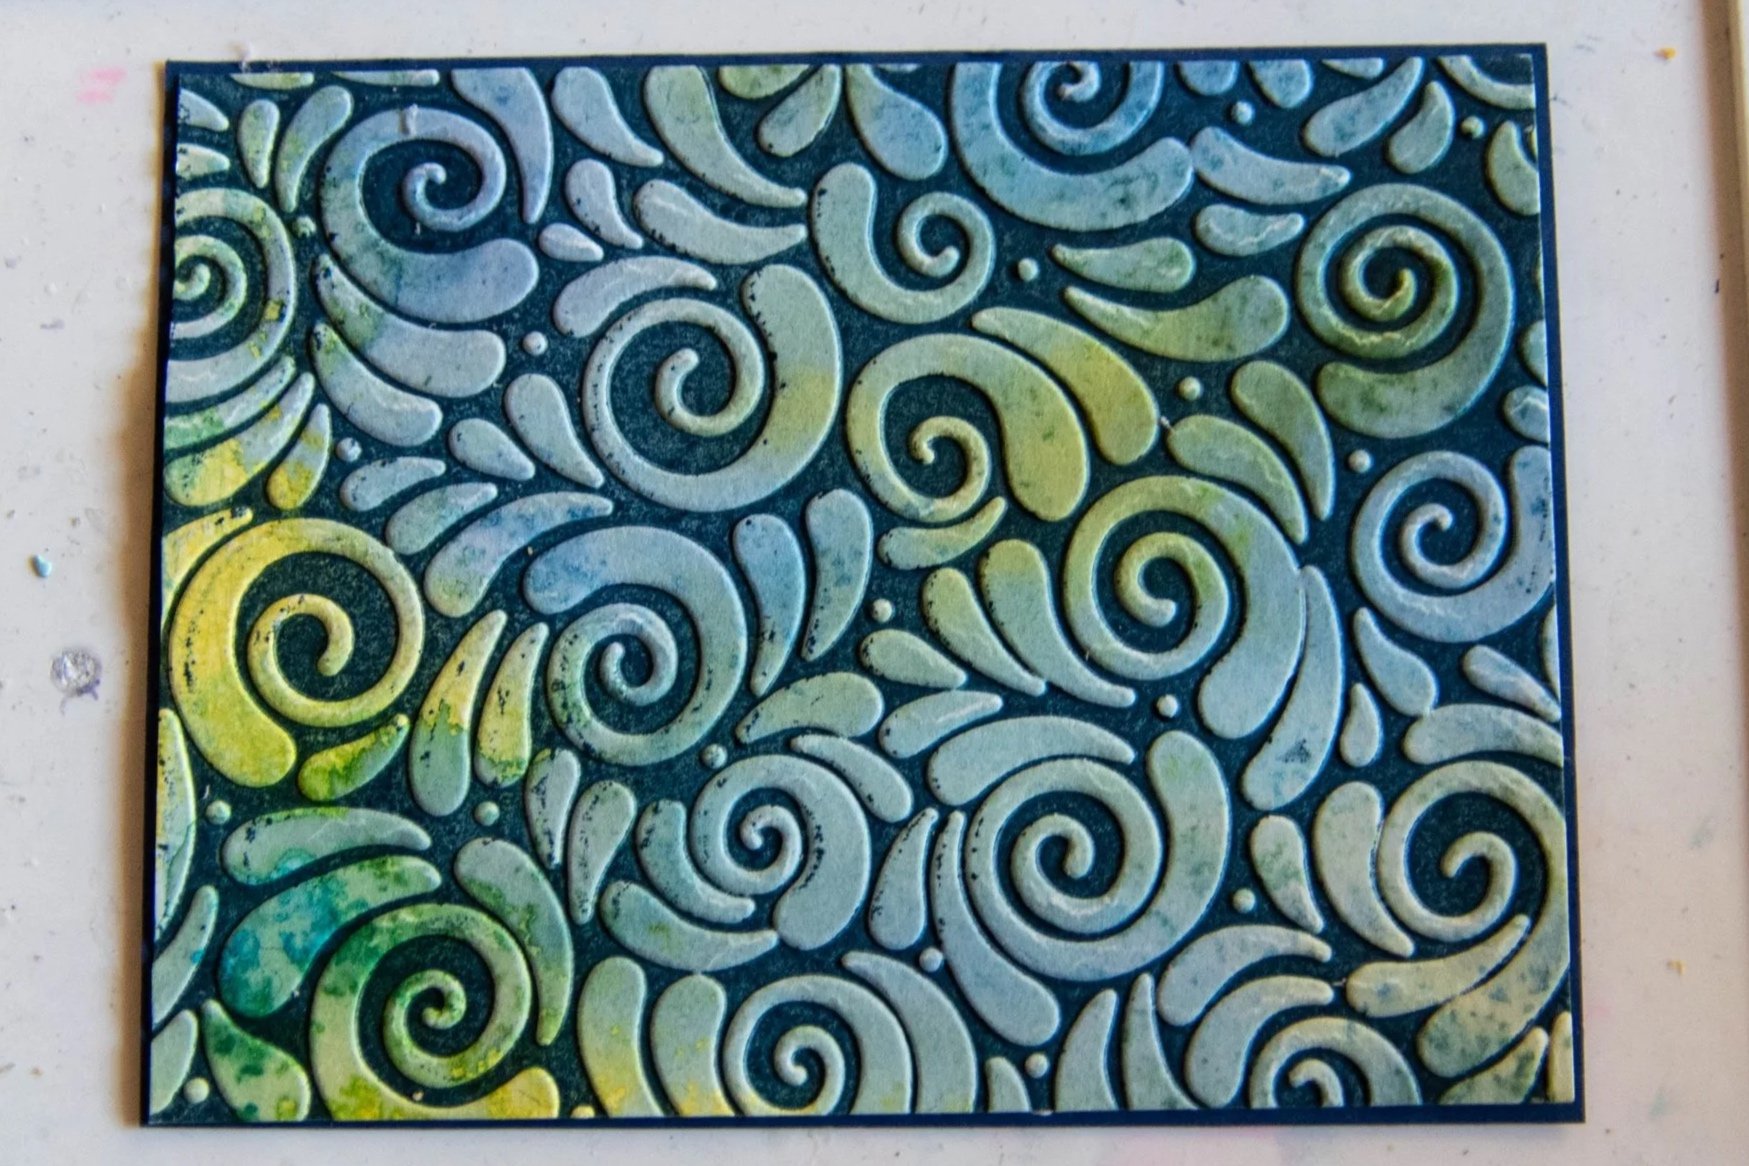
Emboss Watercolor Panel
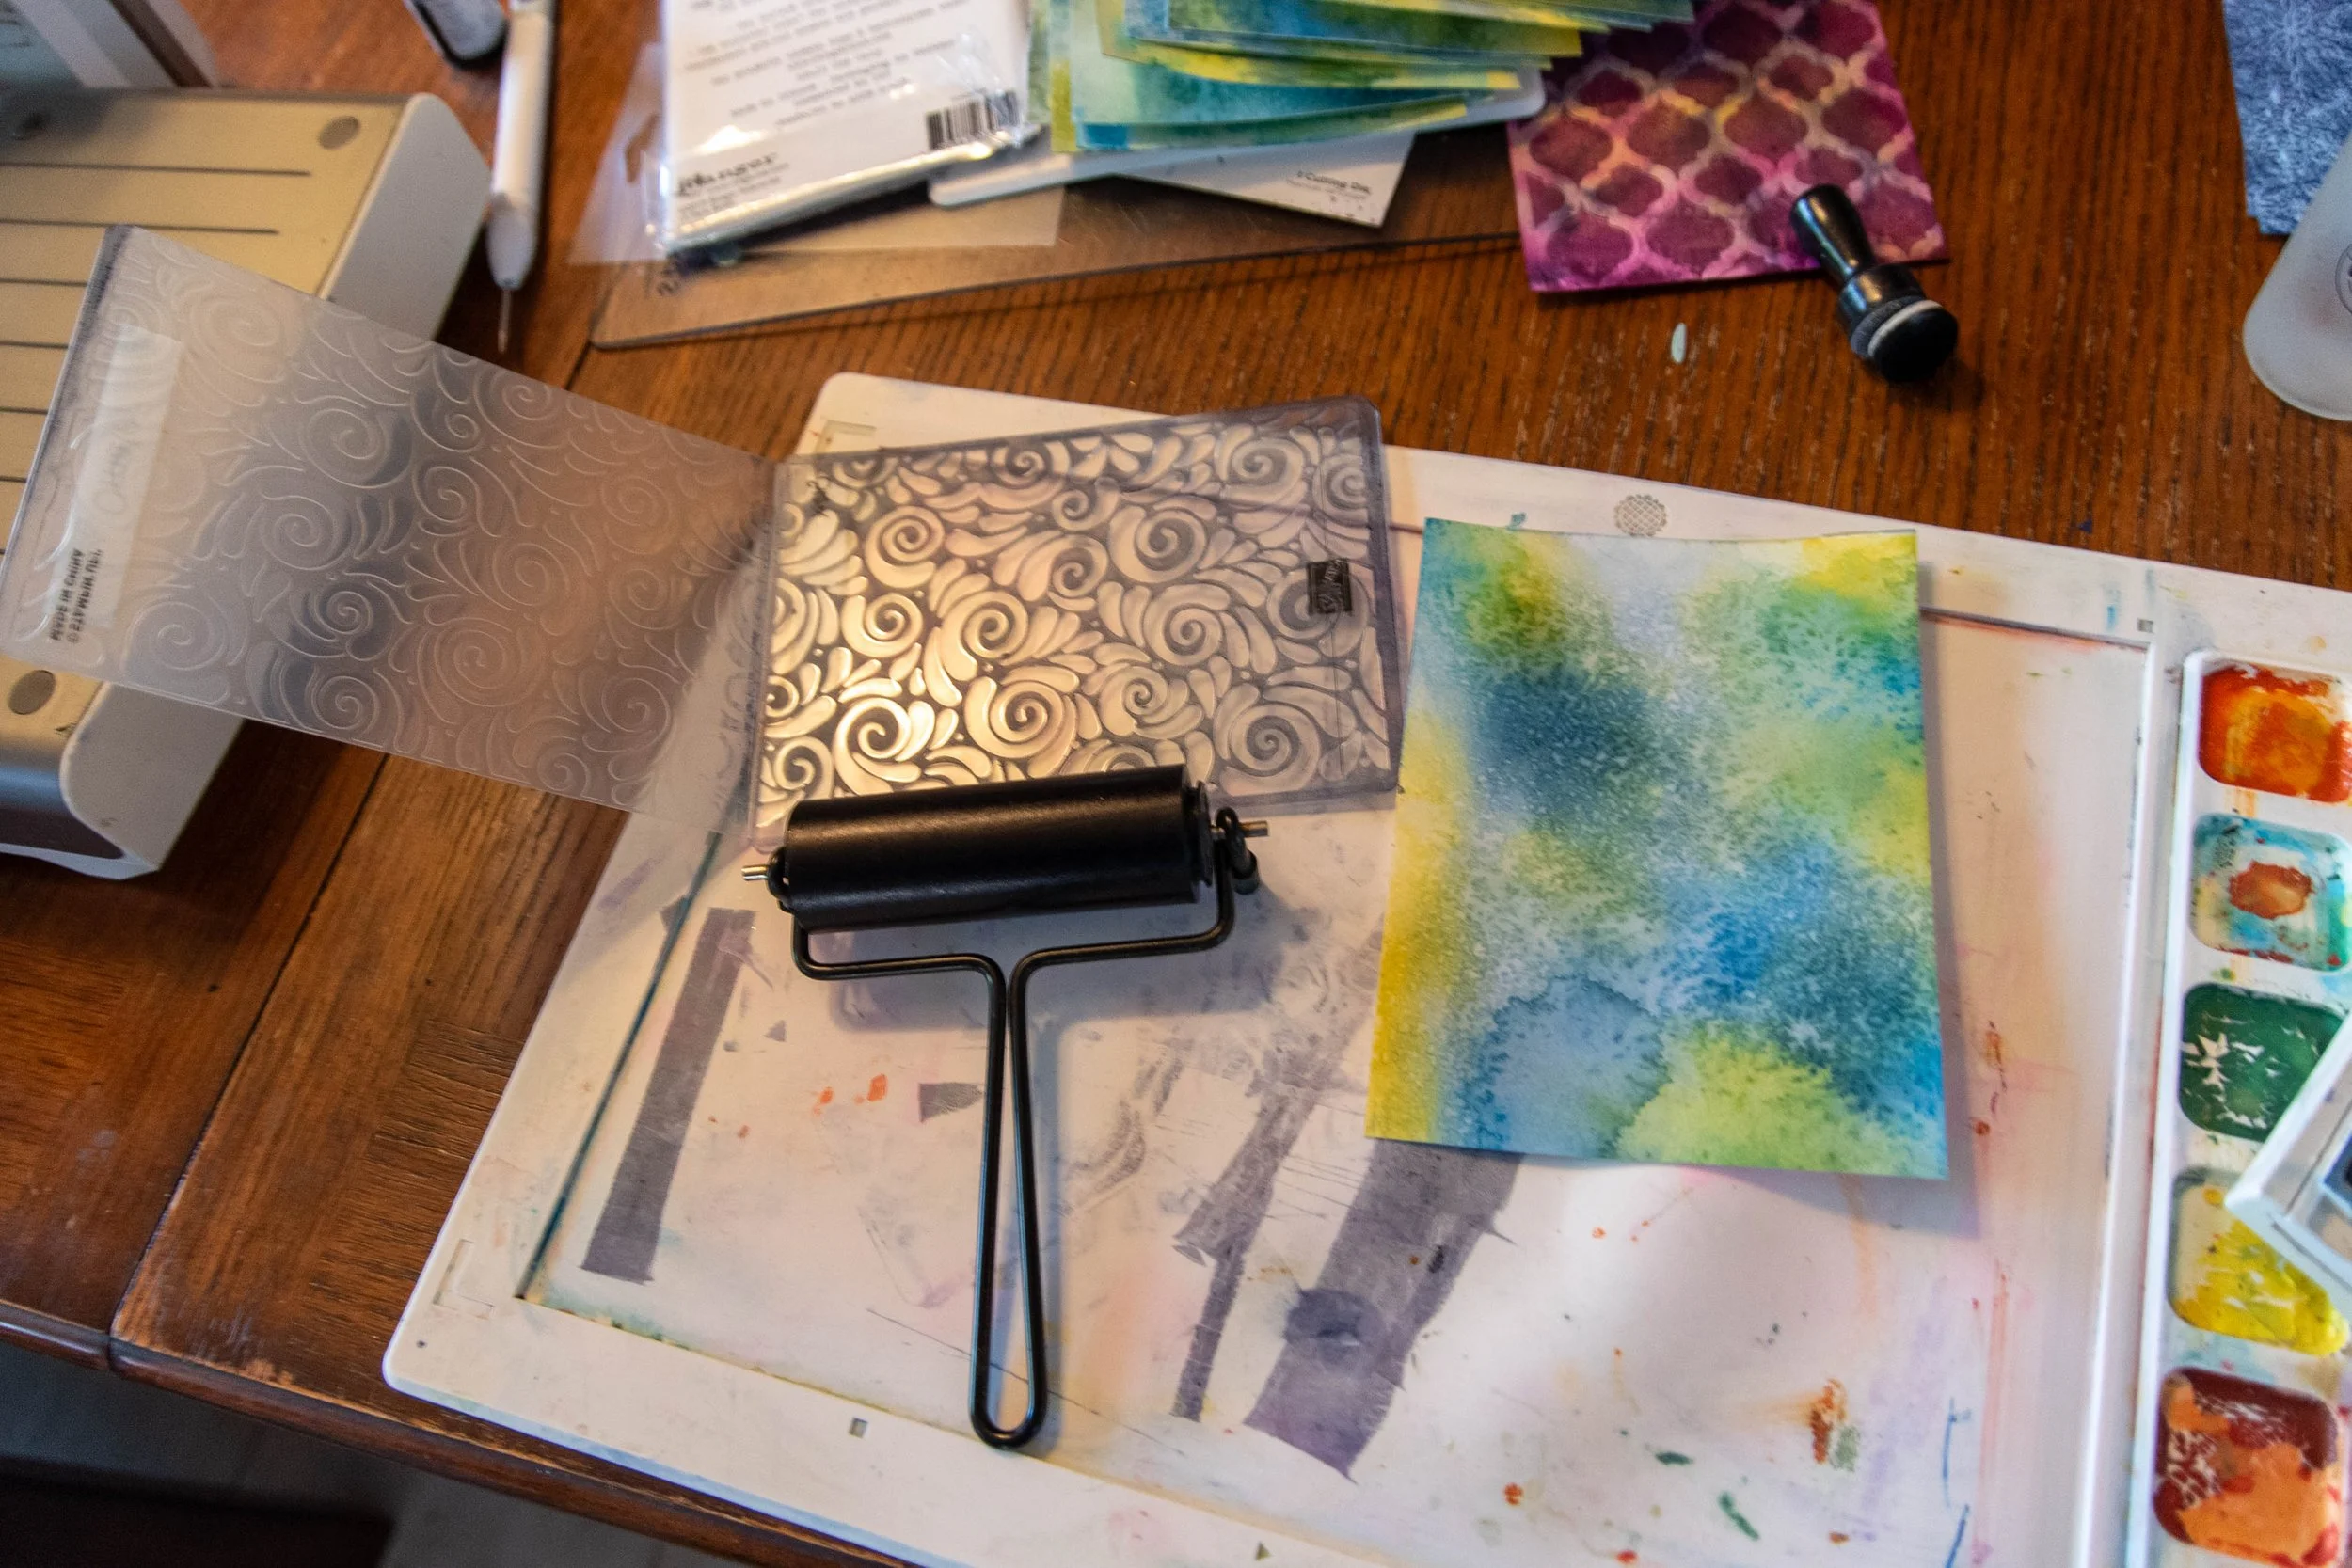
Once the watercolor paper is dry, it is time to emboss.
6. Using a Brayer, spread the darkest blue (midnight muse) onto the side of the embossing plate where the swirls and curls are indented
7. Place the inked side of the watercolor paper onto the inked side of the embossing folder.
8. Run the embossing folder through the embossing machine per your machines instruction. You will now have panel that have watercolored swirls and Curls poking out of a dark blue background.
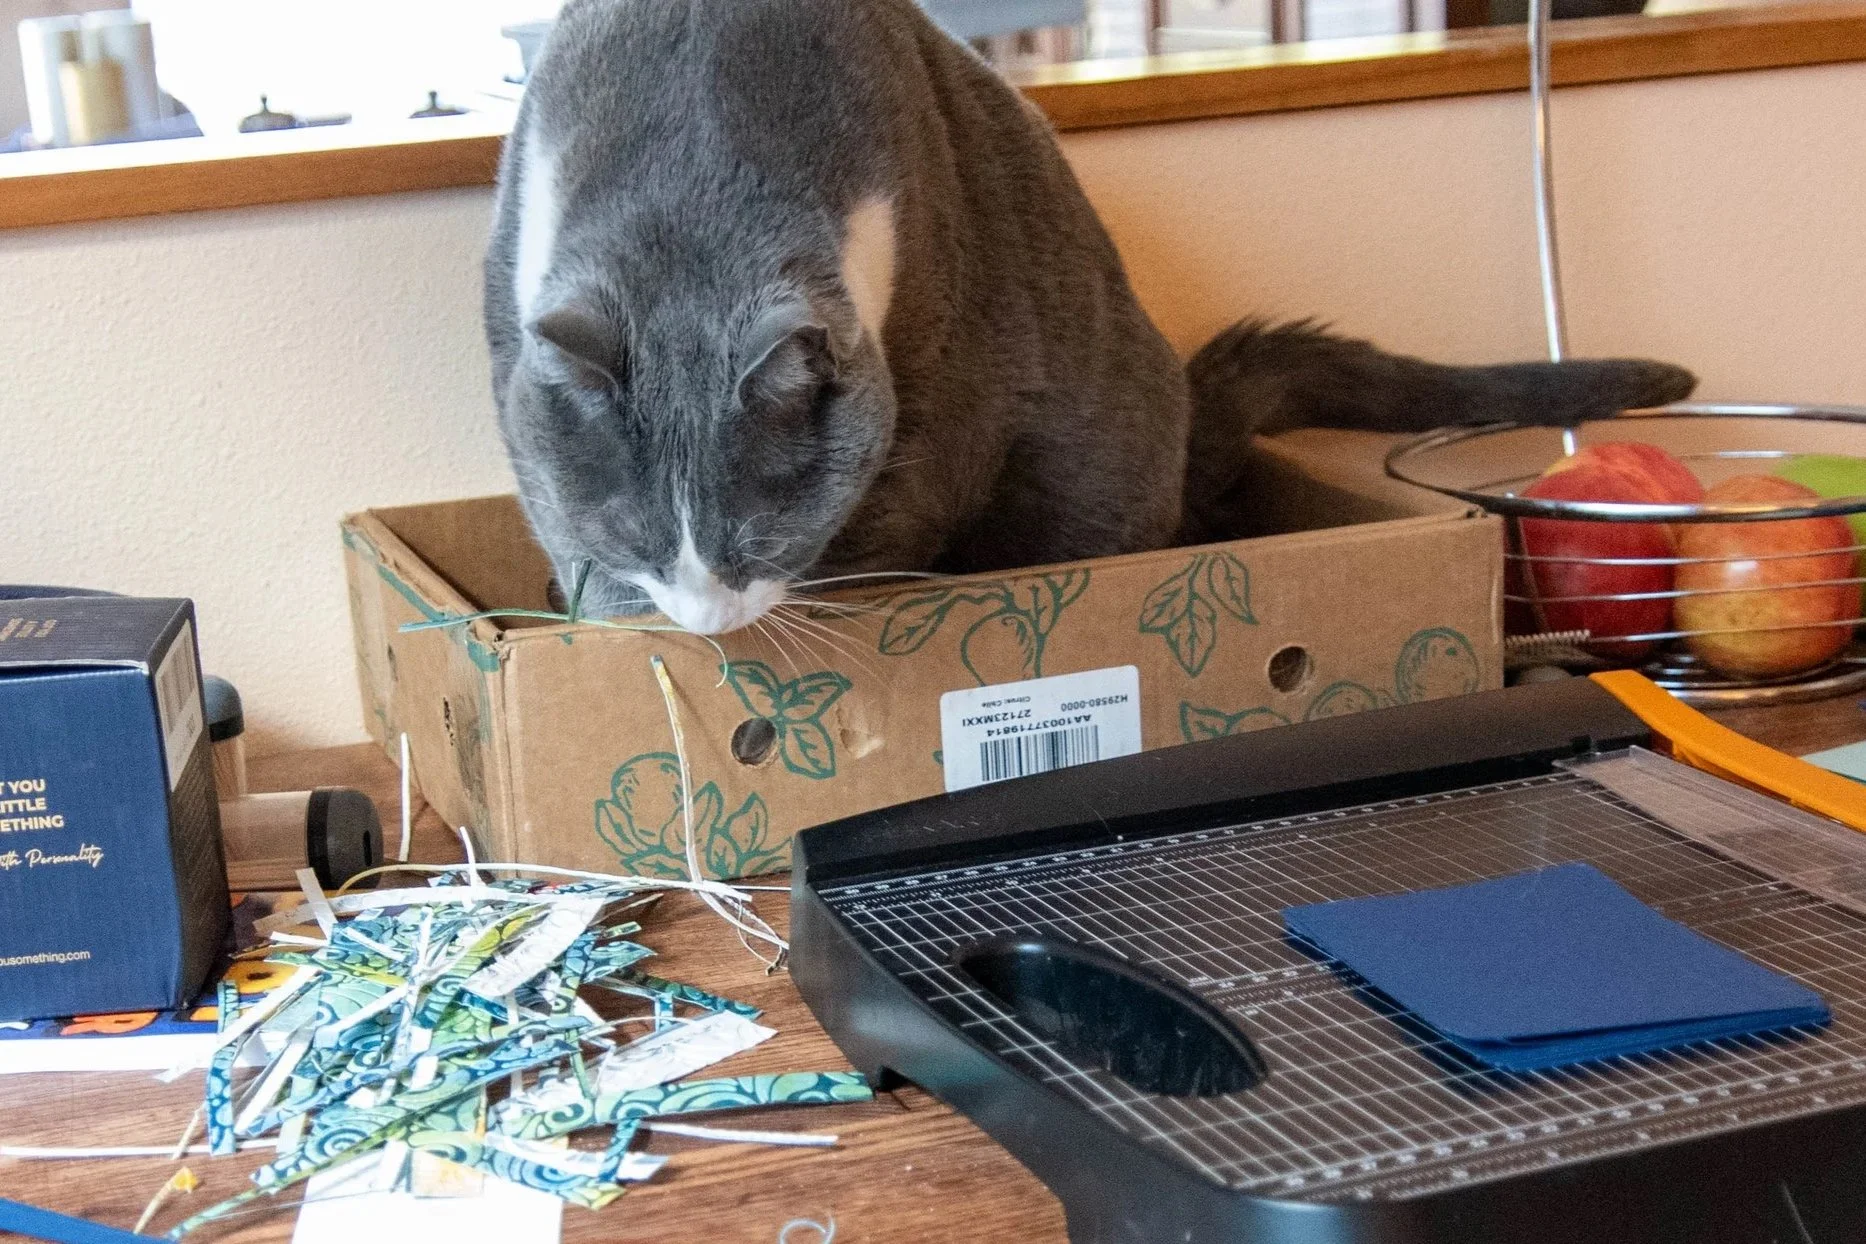
9. Trim the watercolor panel to a 4”x 5.25” inches. Keep the scrapes.

Cut Out Panels
10. In addition to the watercolor panel. This card had three additional panels:
a. One matting panel – Dark blue cardstock (Night of Navy) cut to a rectangle
5 5/8” x 4 1/8”.
b. Two sentiment panels – one a dark blue (night of navy) cardstock and the other
a soft blue green (pool party) cardstock. Cut each sentiment panel is cut to a
2 ½” x 3” panel. Burnish the edge of the lighter colored panel with dark blue ink.
11. Set aside.
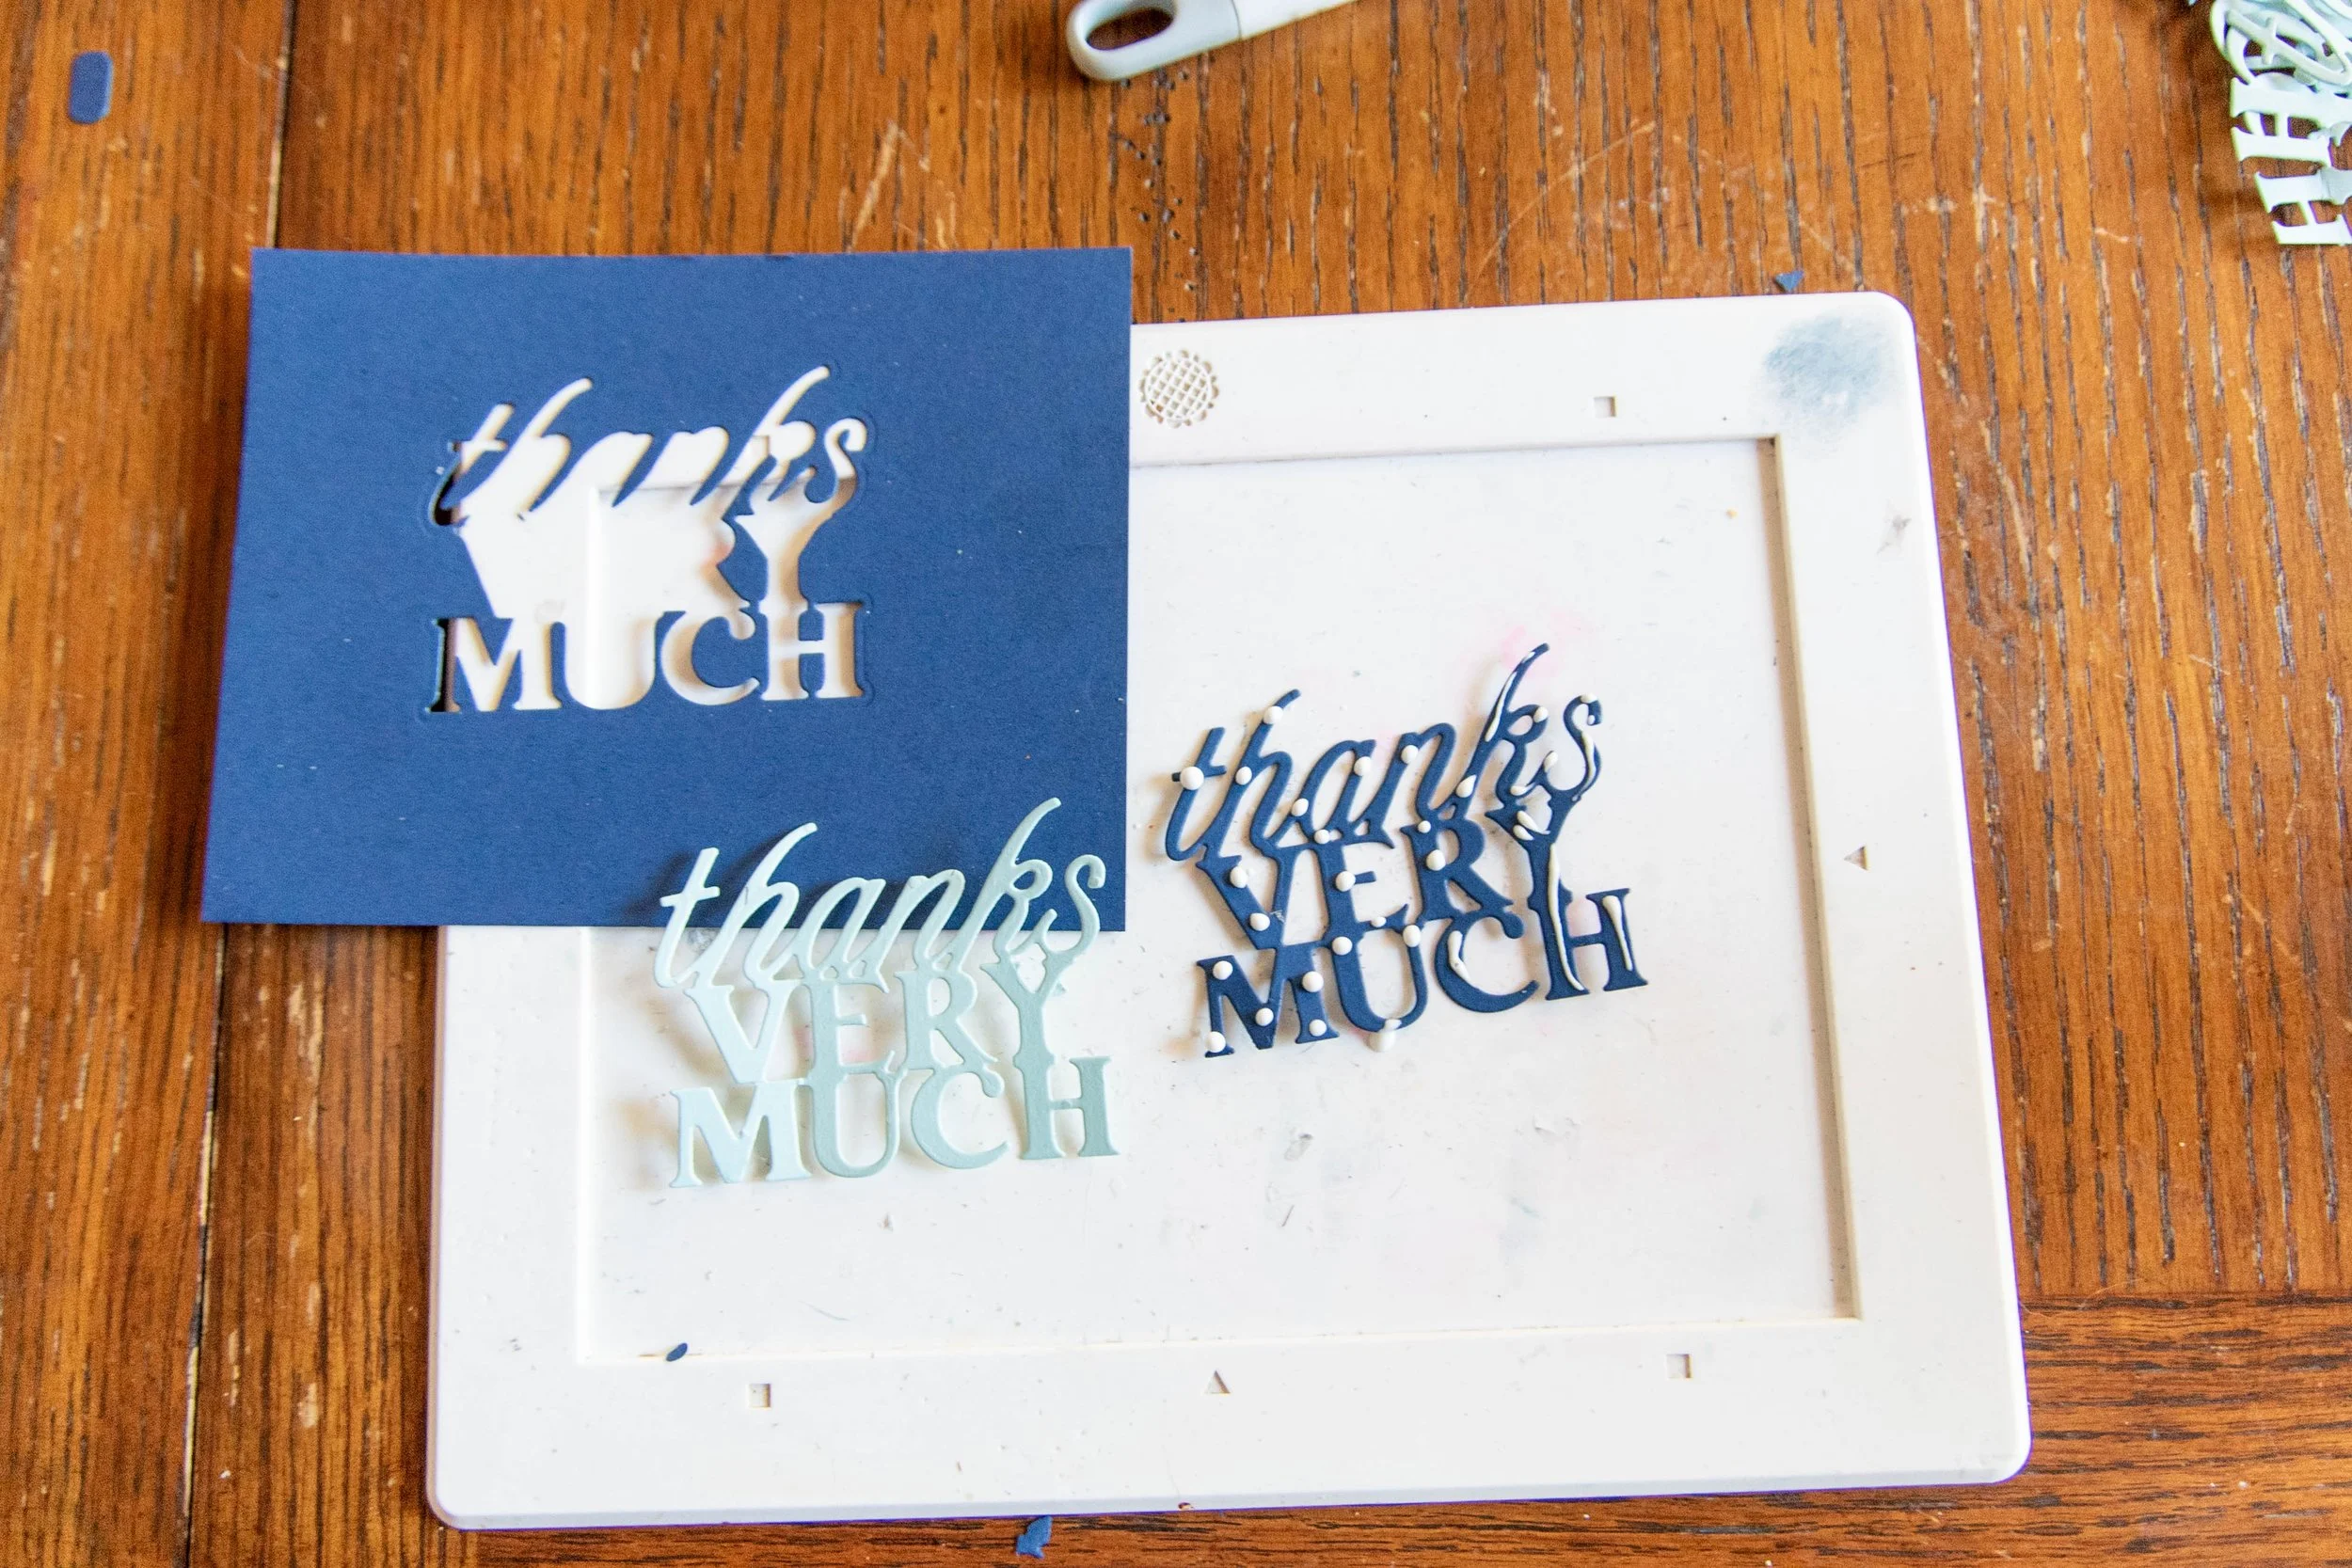
Cut Out and Glue Thank You Sentiment
The “Thank You” sentiment will be layered with two sheets of cardstock. This provides body to the sentiment which is from a text die that has narrow width in the letters which tend to weaken the paper. Two layers of cardstock gives he sentiment strength. I try to use scraps and find ways to stretch paper whenever I can. In this case I used the dark blue matting sheets to cut the bottom sentiment. The matting sheet will be covered by the embossed panel so no wasted paper. Win-Win!
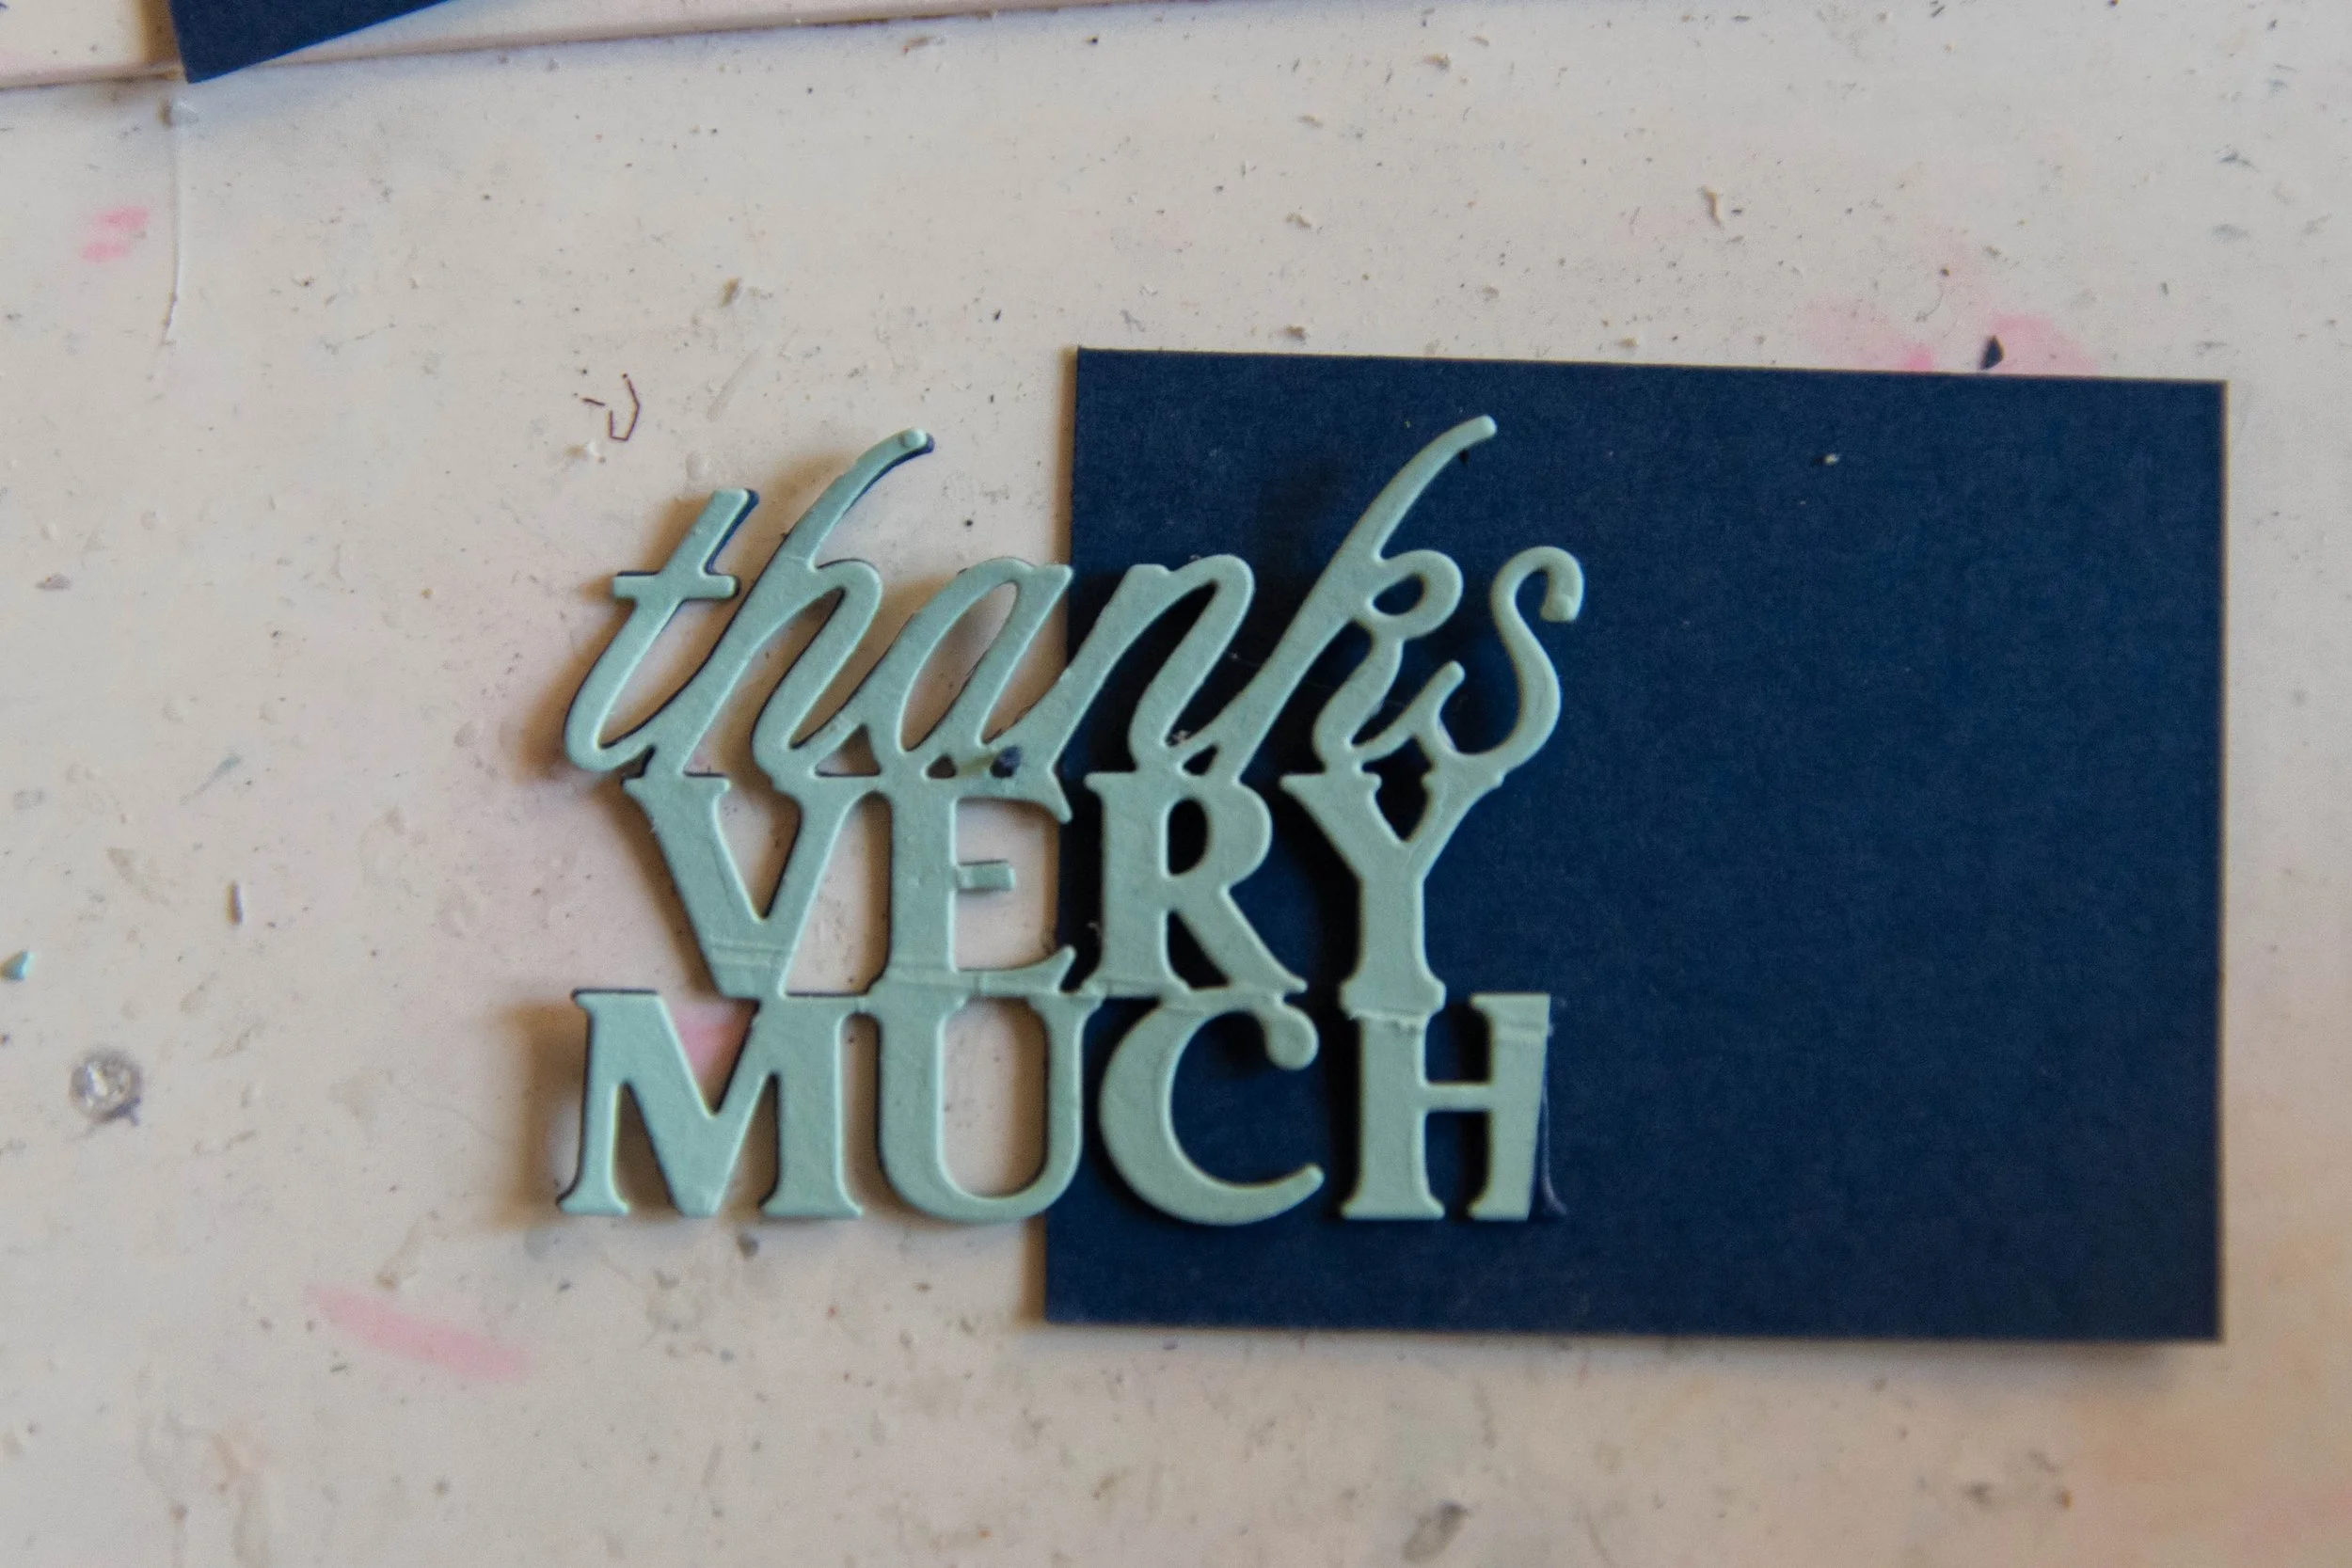
12. Using the dark blue matting panel, run the “Thank You Very Much” die through the die machine cutting from the center of the panel.
13. Run the “Thank You Very Much” die over a light blue-green scrap card stock. ~3” x 2.5”.
14. Glue the light blue green sentiment over the dark blue sentiment, then glue onto the dark blue sentiment panel.
Assemble card
15. Glue the embossed panel onto the dark blue matting panel.
16. Glue the new embossed panel onto the card base.
17. Glue the light blue green sentiment panel behind the blue sentiment panel slightly a skew.
18. Glue the Sentiment on the front of the card. Anywhere you want. I originally was going to have it centered but I really liked it placed on the left.

Don’t forget the Card’s Interior
19. Cut out white card stock 5 3/8” x 4 1/8”. Use a dauber to burnish the edges with dark blue ink.
20. Pick out a scrap piece from the trimming of the embossed pane you saved in step 9.
21. Glue this piece to the interior of the card. This adds pulls the design from the front into the interior and gives room to the sender to write a message of gratitude.
List of products and tools
Non-Consumables
Swirls and Curls Embossing Folder from Stampin’ Up
Thanks Very Much from Spellbinders (2025 Kit Member Appreciation Gift)
Consumable
Gold Foil from Spellbinders
Crisp Cantaloupe Card Stock by Stampin Up
“white” Premium Color Copy Cover by Hammermill
Barely Banana Classic Ink from Stampin Up
Boho Blue Classic Ink from Stampin up
Crisp Cantaloupe Classic Ink from Stampin Up
Pistachio Pudding Classic Ink from Stampin Up
Pearls and Rhinestones for embellishing
Special Tools
Glimmer Hot Foil System by Spellbinders
Platinum Machine by Spellbinders